It felt refreshingly simple to take part in a photoshoot without great depth of meaning or personal investment for a change!
The shoot:
4 models, 3 photographers, 2 hours, 1 arcade
4 models, 3 photographers, 2 hours, 1 arcade
My gear:
Sony A74 iv, Sony 24-70mm f/2.8 GM lens
Black pro mist 1.0 filter
4-star filter
Lensbaby gold/silver reflector piece (from the OMNI kit)
Lume Cube
Sony A74 iv, Sony 24-70mm f/2.8 GM lens
Black pro mist 1.0 filter
4-star filter
Lensbaby gold/silver reflector piece (from the OMNI kit)
Lume Cube
Camera settings:
f/2.8, 1/100 sec, ISO variable, typically around 1600
f/2.8, 1/100 sec, ISO variable, typically around 1600
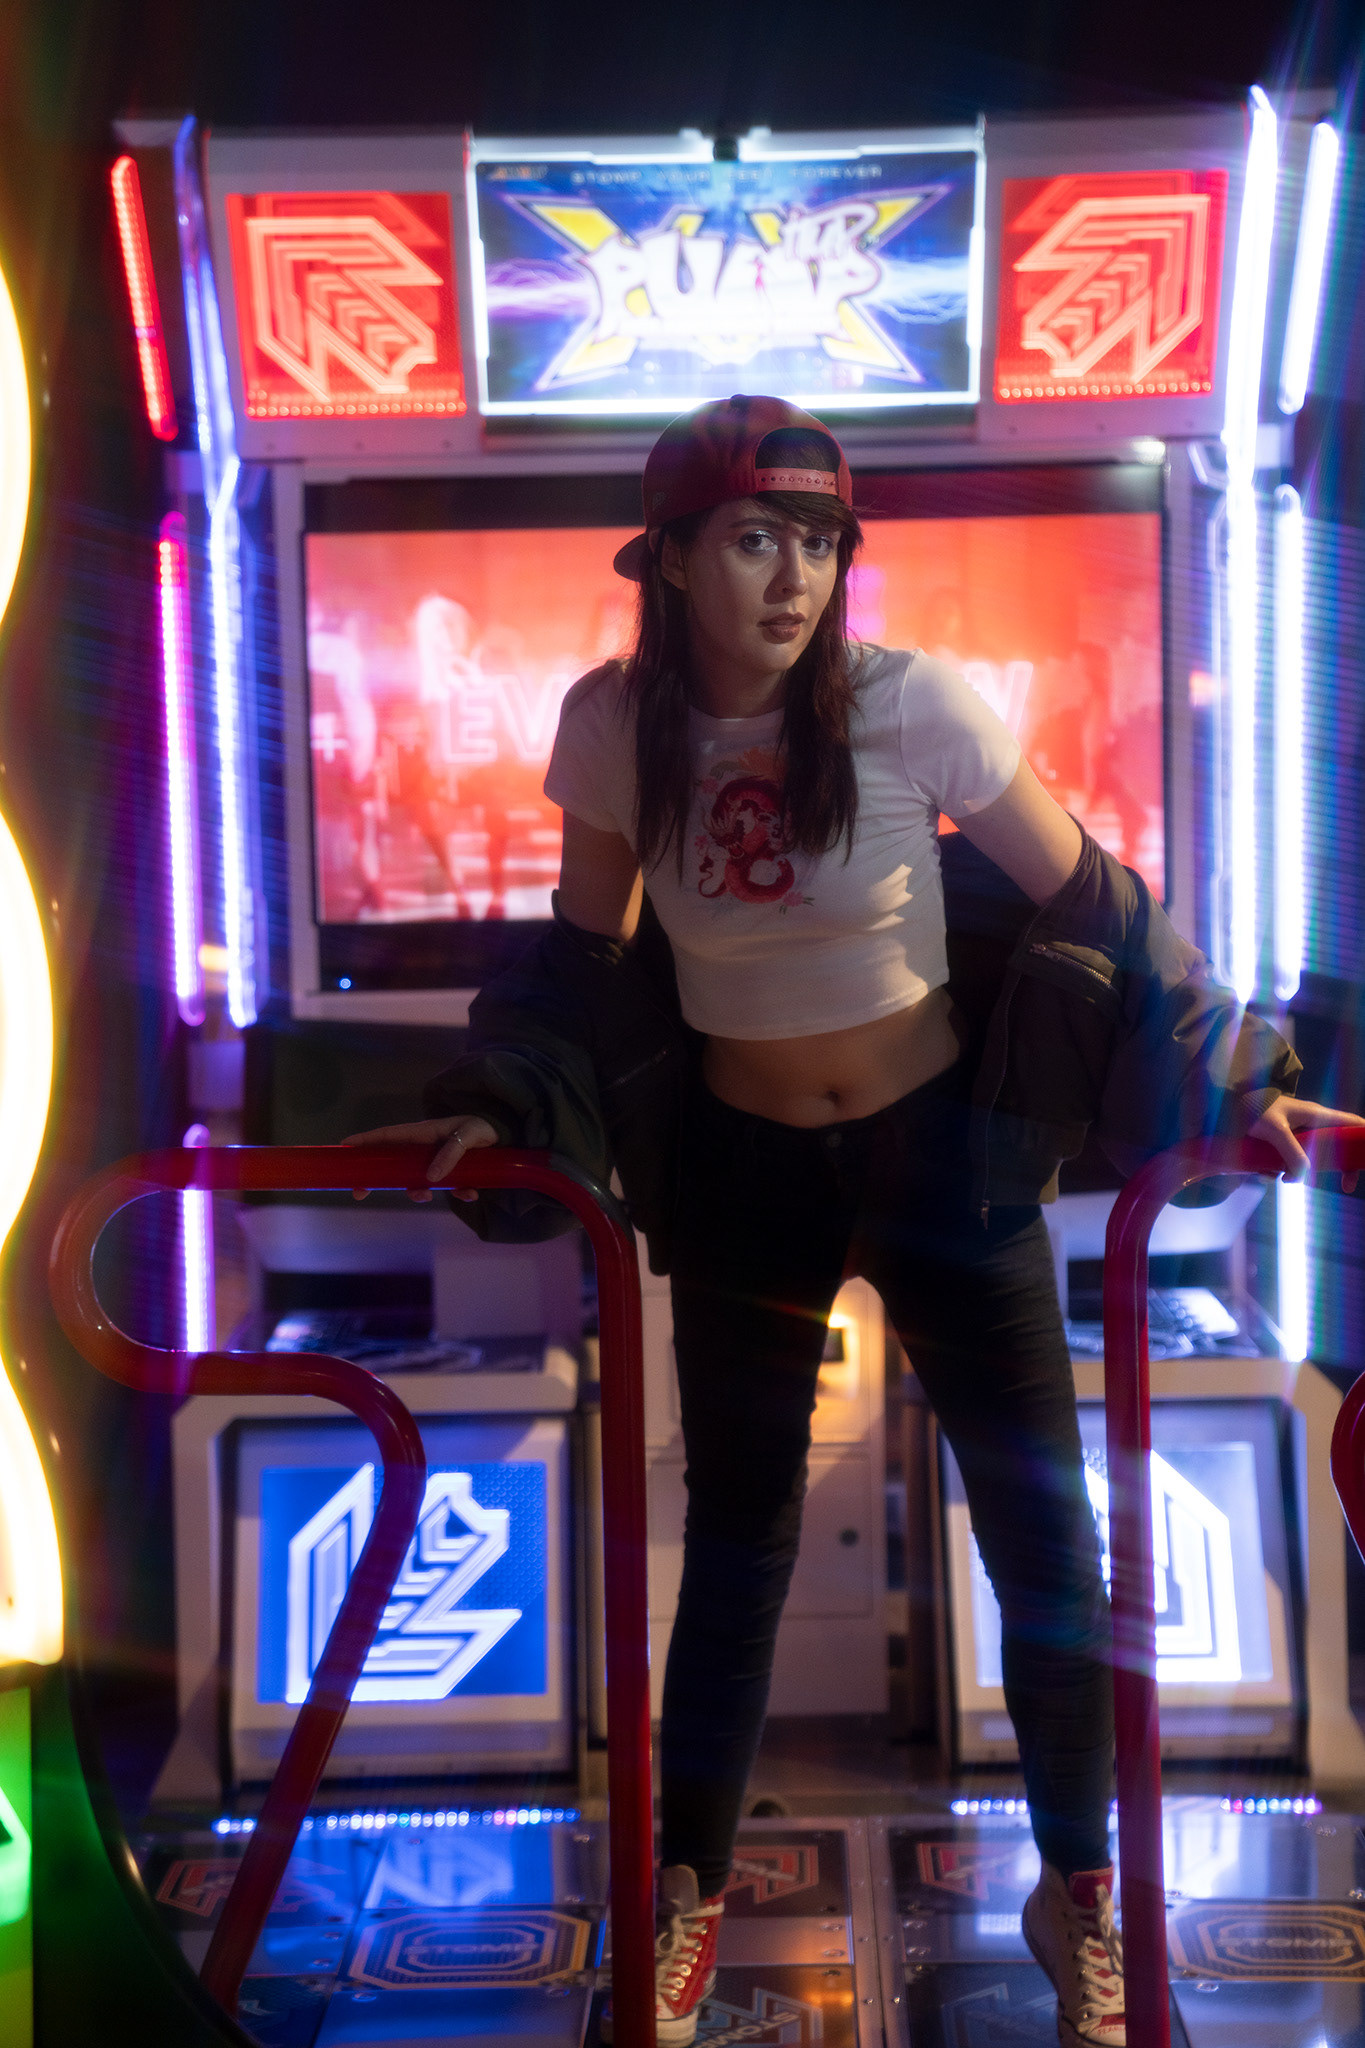
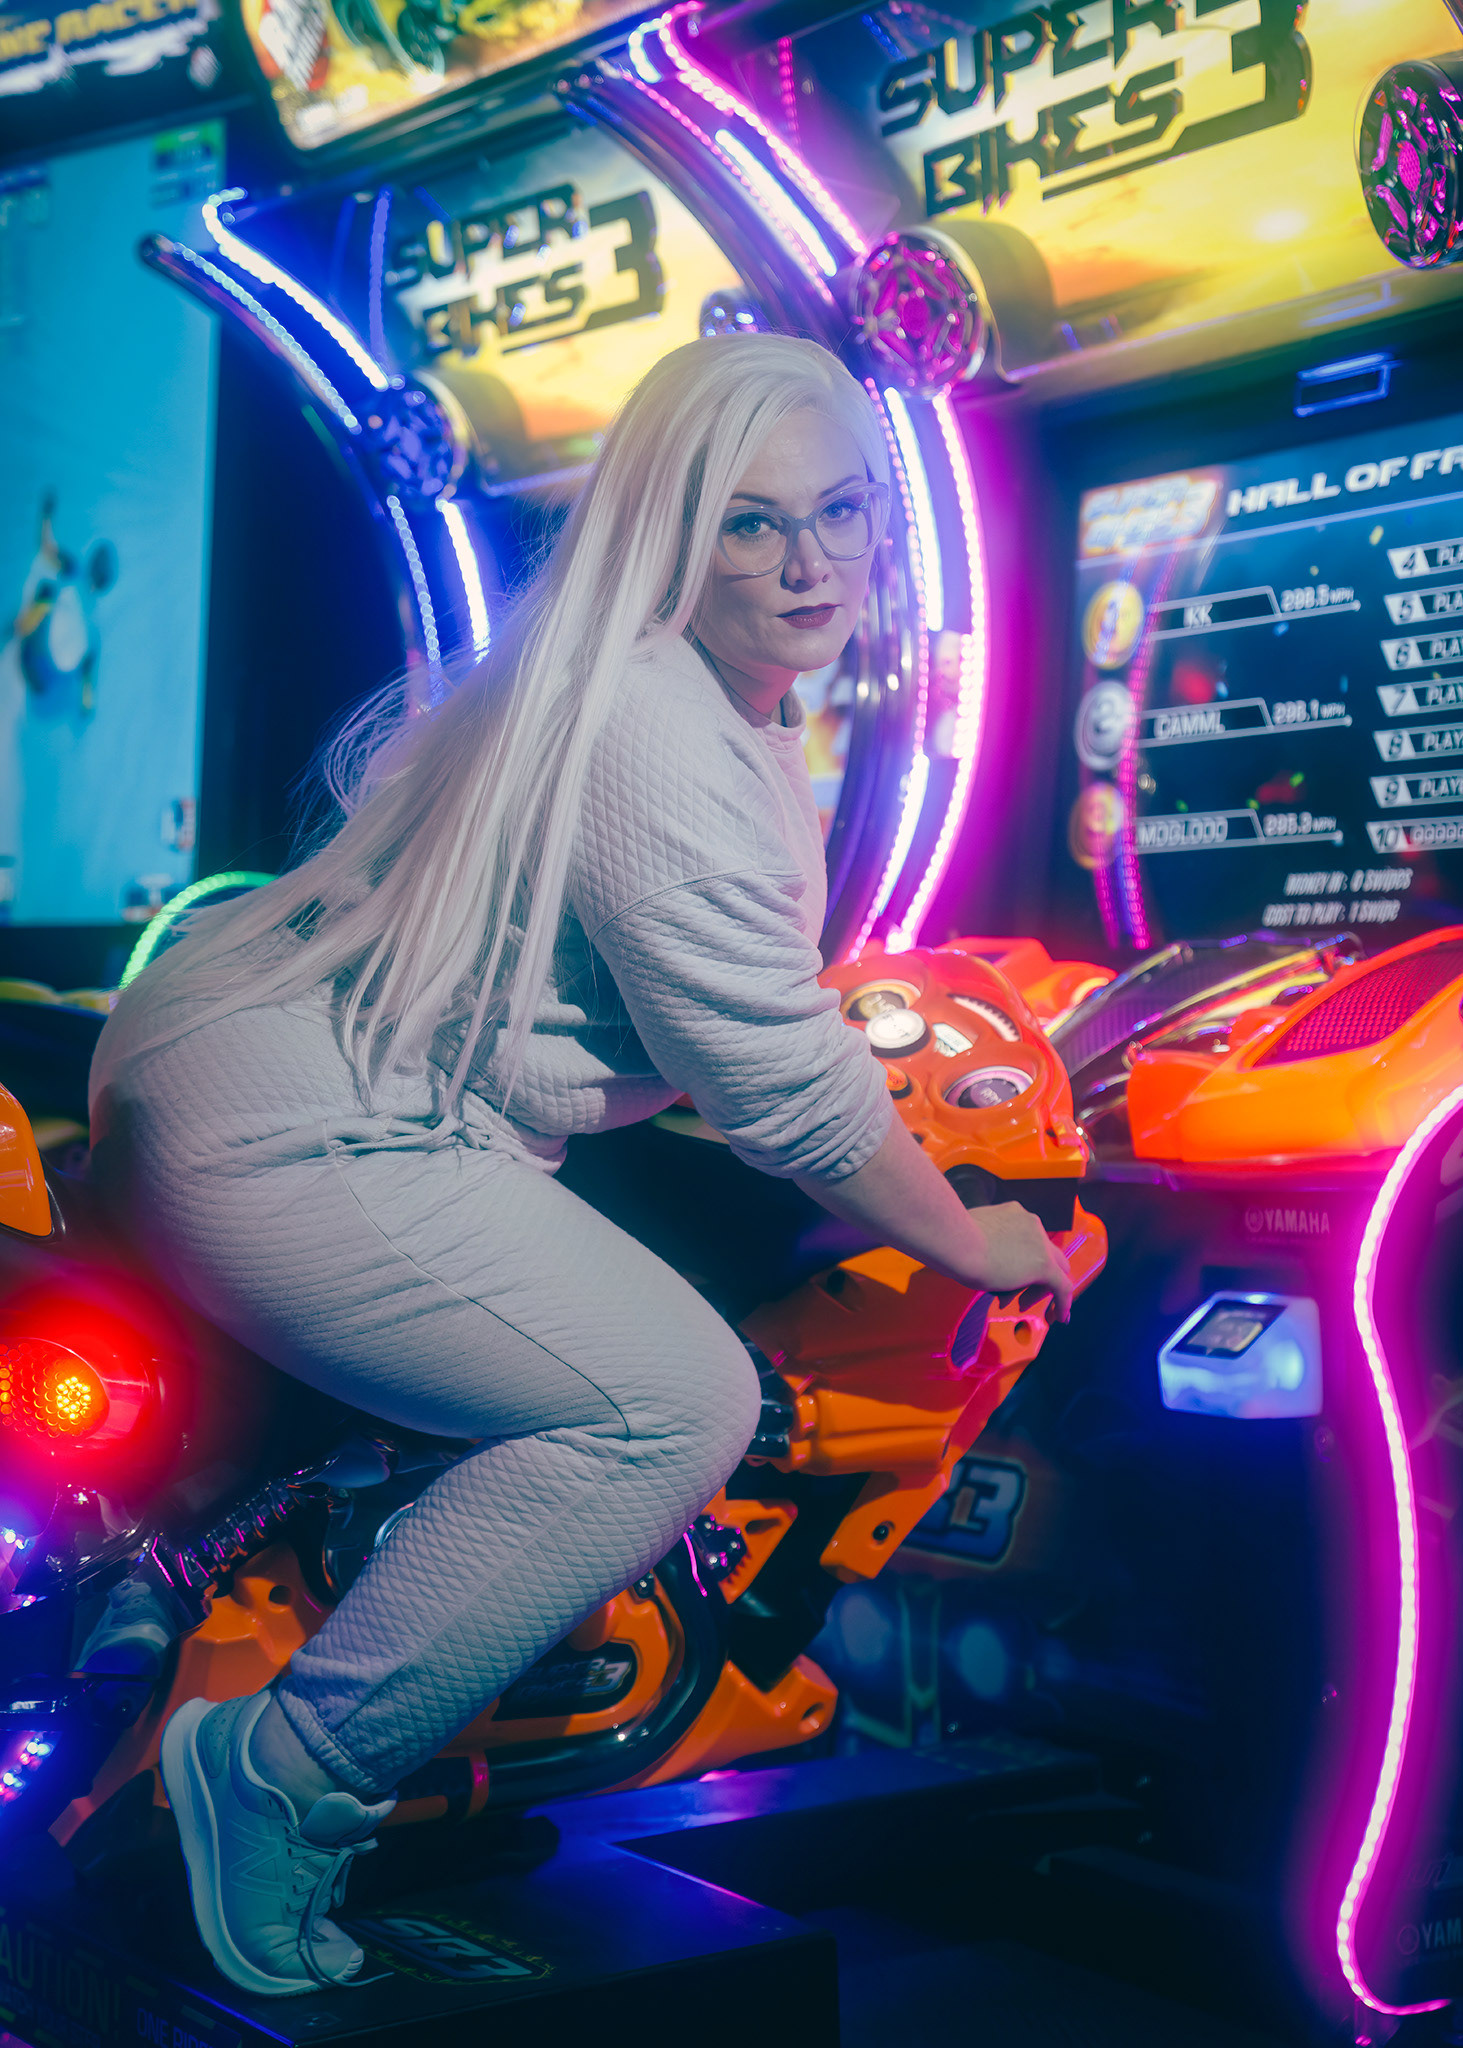
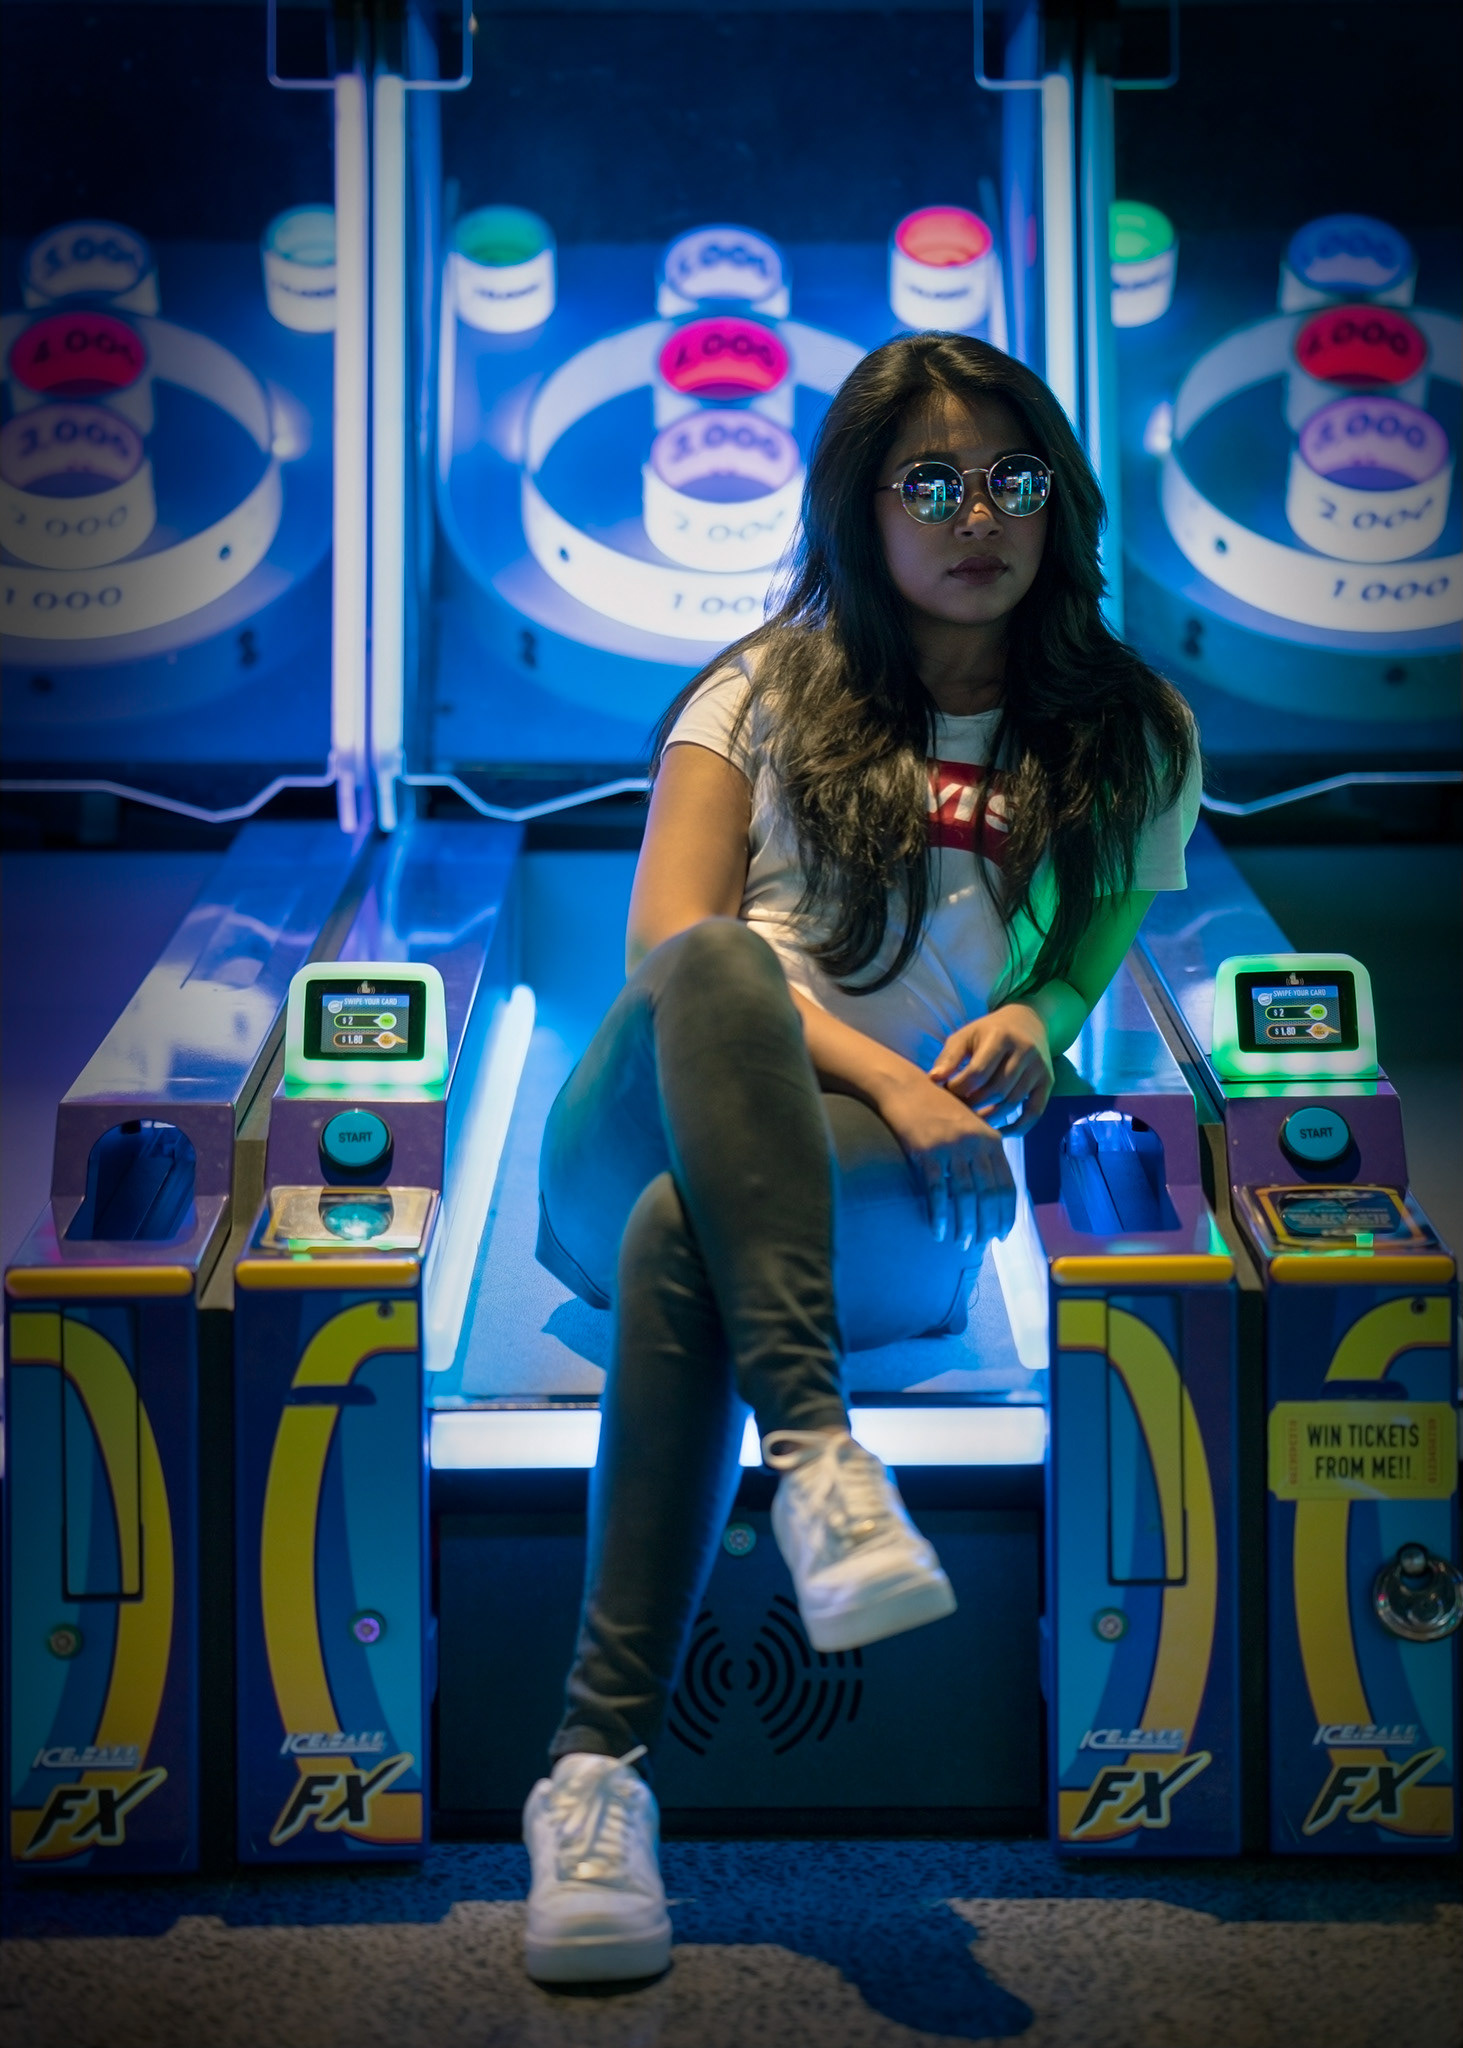
An arcade is a tricky place to photograph models. There are lights everywhere but, in most places, the general lighting is poor. In this image, the model is too dark, the lights on the left are blown out and distracting, and the skin tone is off from the strange lighting. I took this when we first arrived at the arcade and I was choosing camera settings. I knew what I was getting into as I've done an arcade shoot before.
Your camera metering system won't be happy and you'll need to instead rely on your own judgement. I find the histogram when reviewing images quite helpful to show me where lighting has been clipped. In addition, your autofocus may struggle and you may need to instead rely on manual focus. Be prepared to be out of your comfort zone.
The best way to get yourself back into the comfort zone is, I think, to do research and practice before the shoot! I find Pinterest (or any other similar way you can find other works and save ideas and have them with you) invaluable. I use this before and during every shoot I do. I refer to it for ideas and poses to keep a shoot flowing, so there there are no 'what shall we do next' moments. If I feel like I'm getting off track, I can come back to the board to set me straight.
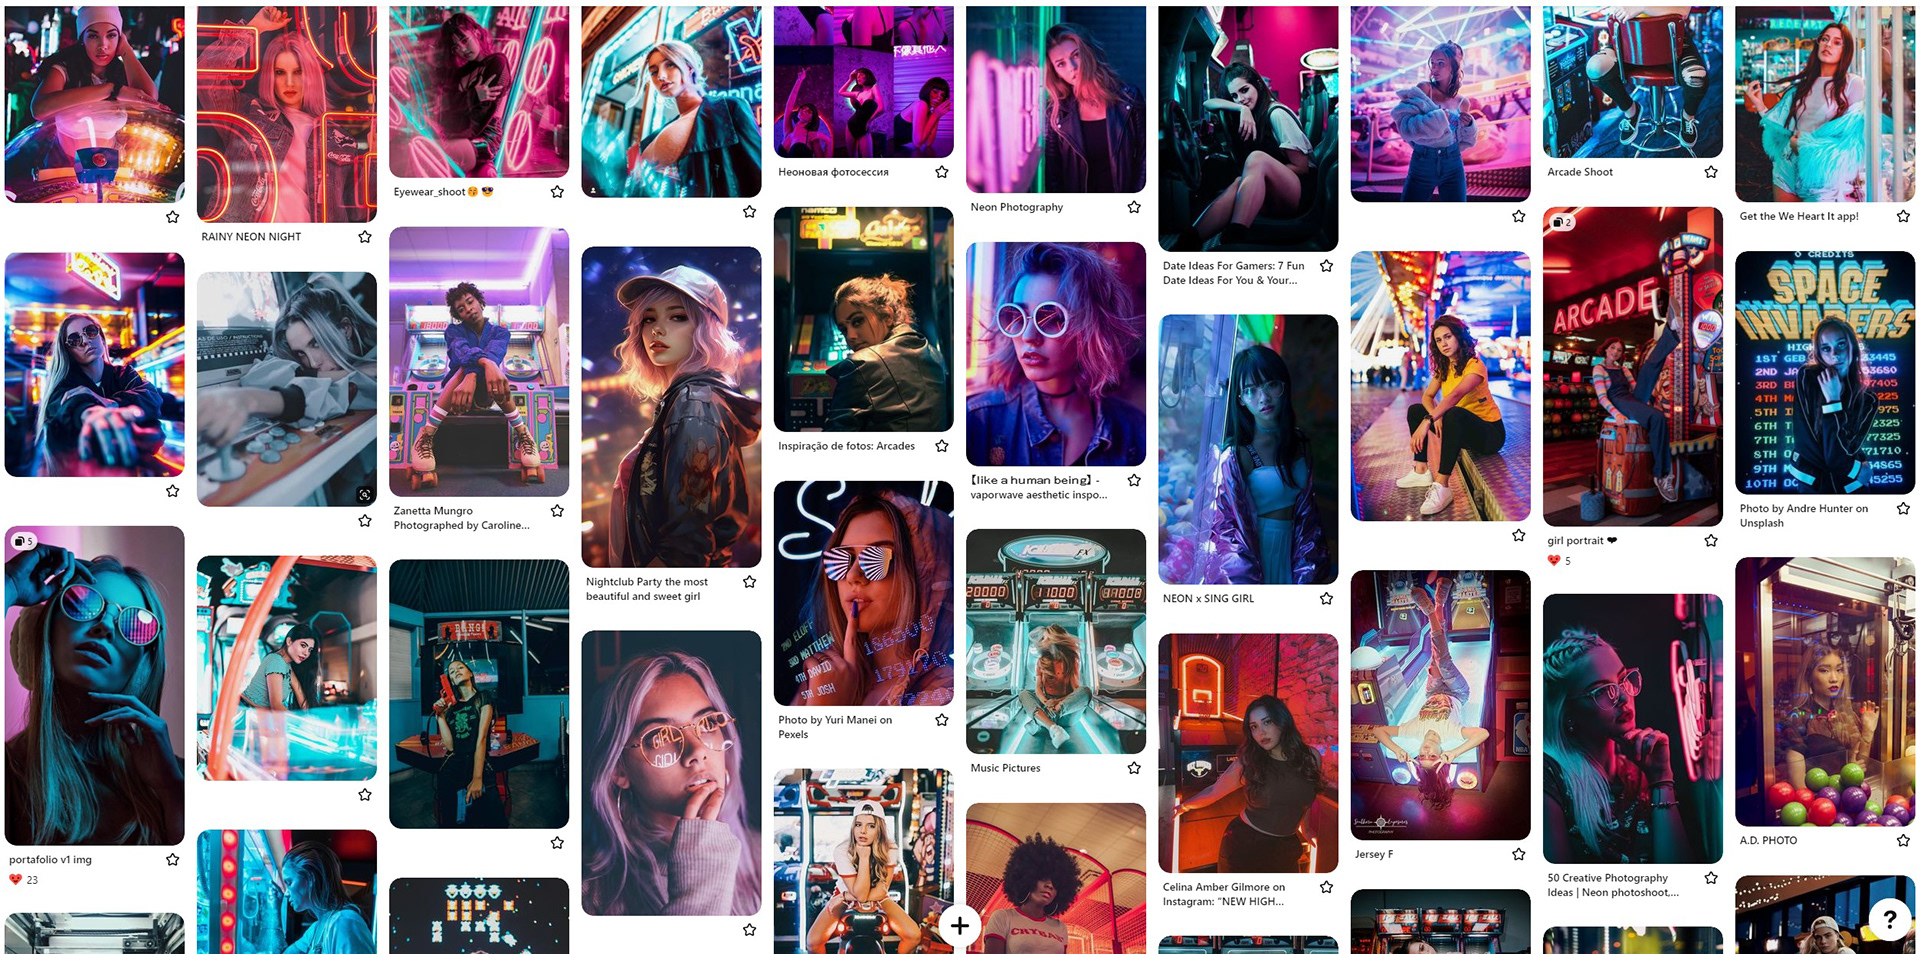
Screenshot of my Pinterest board for the arcade photoshoot
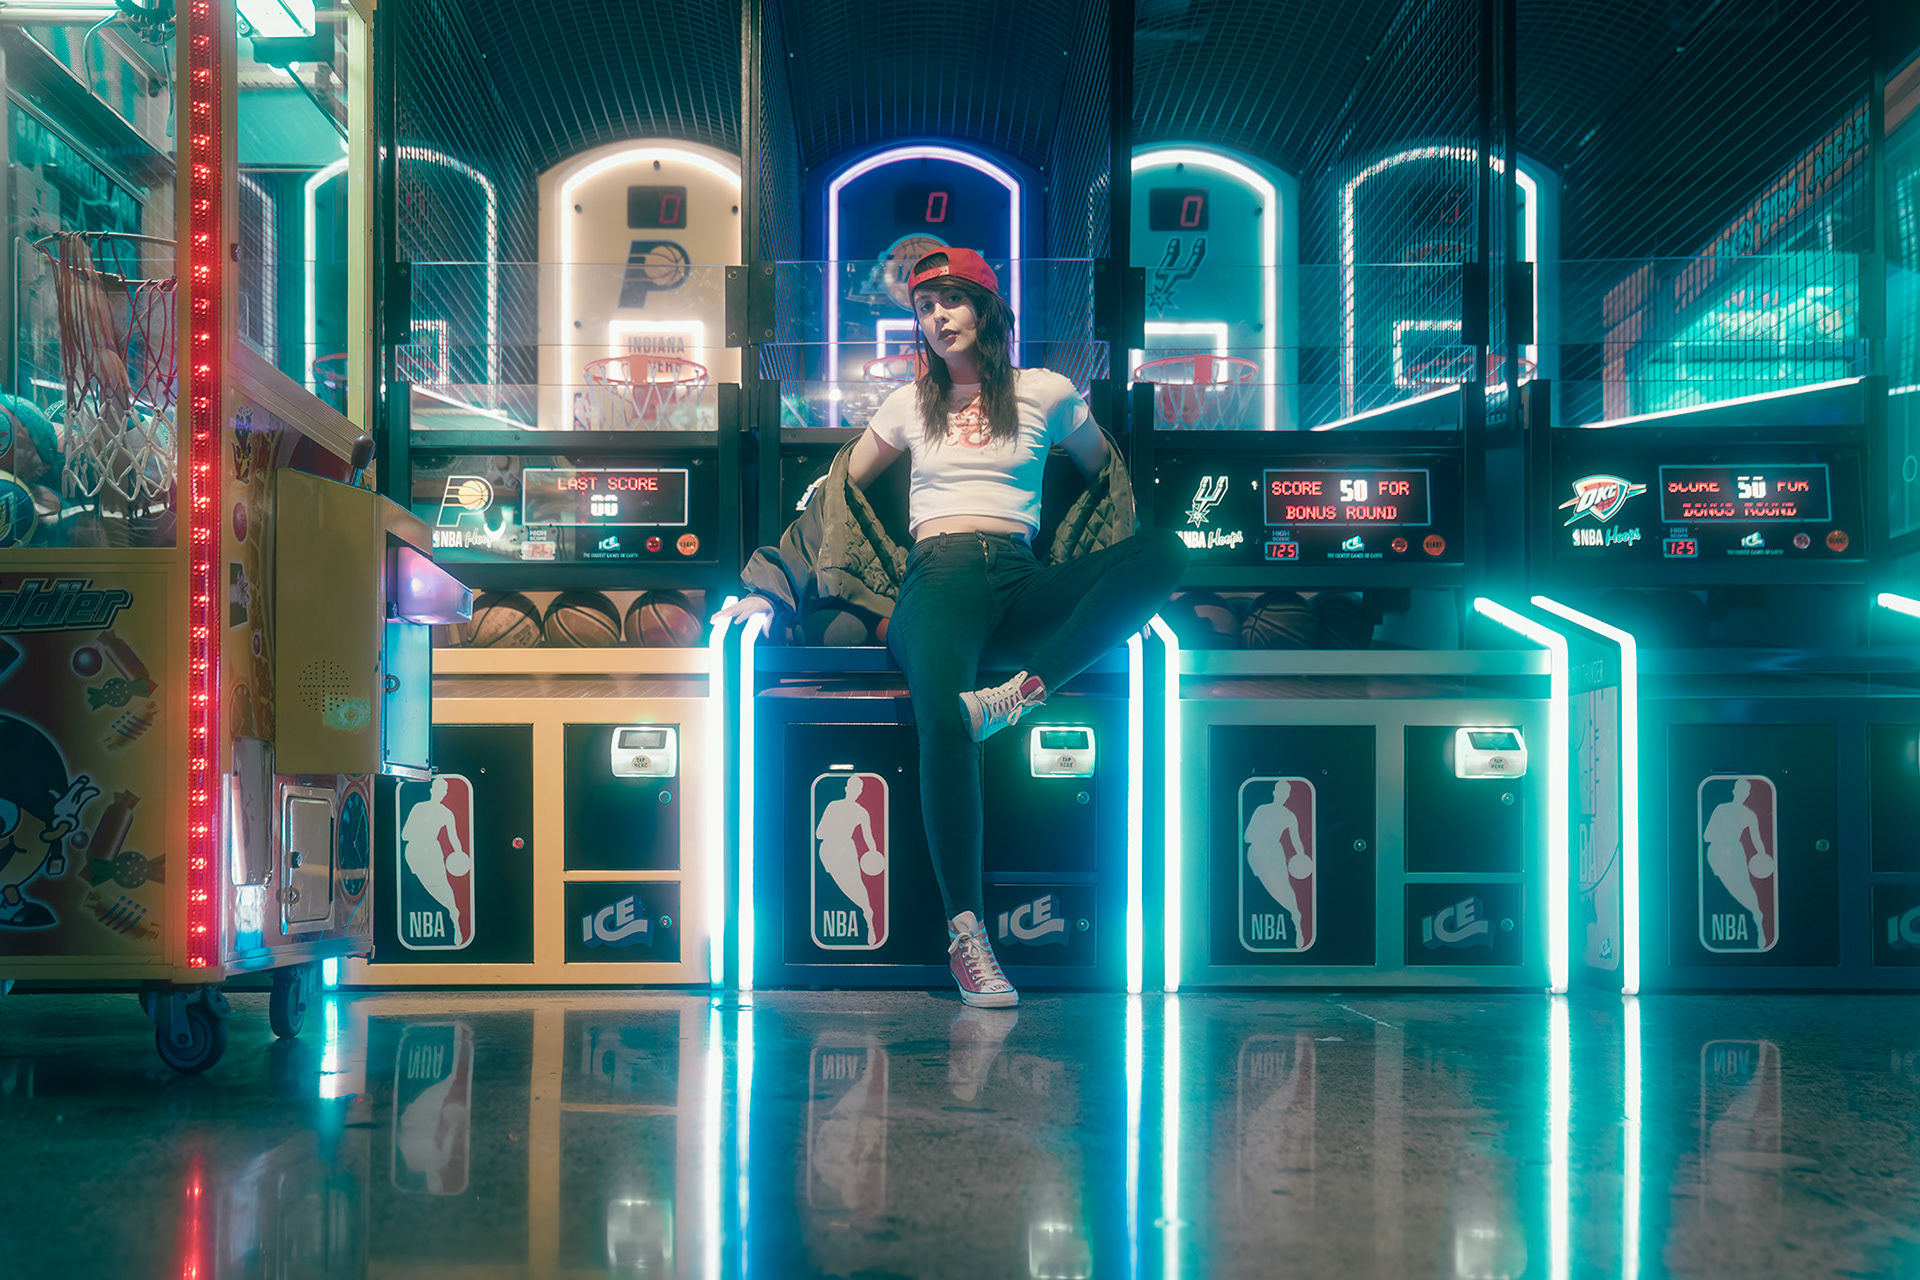
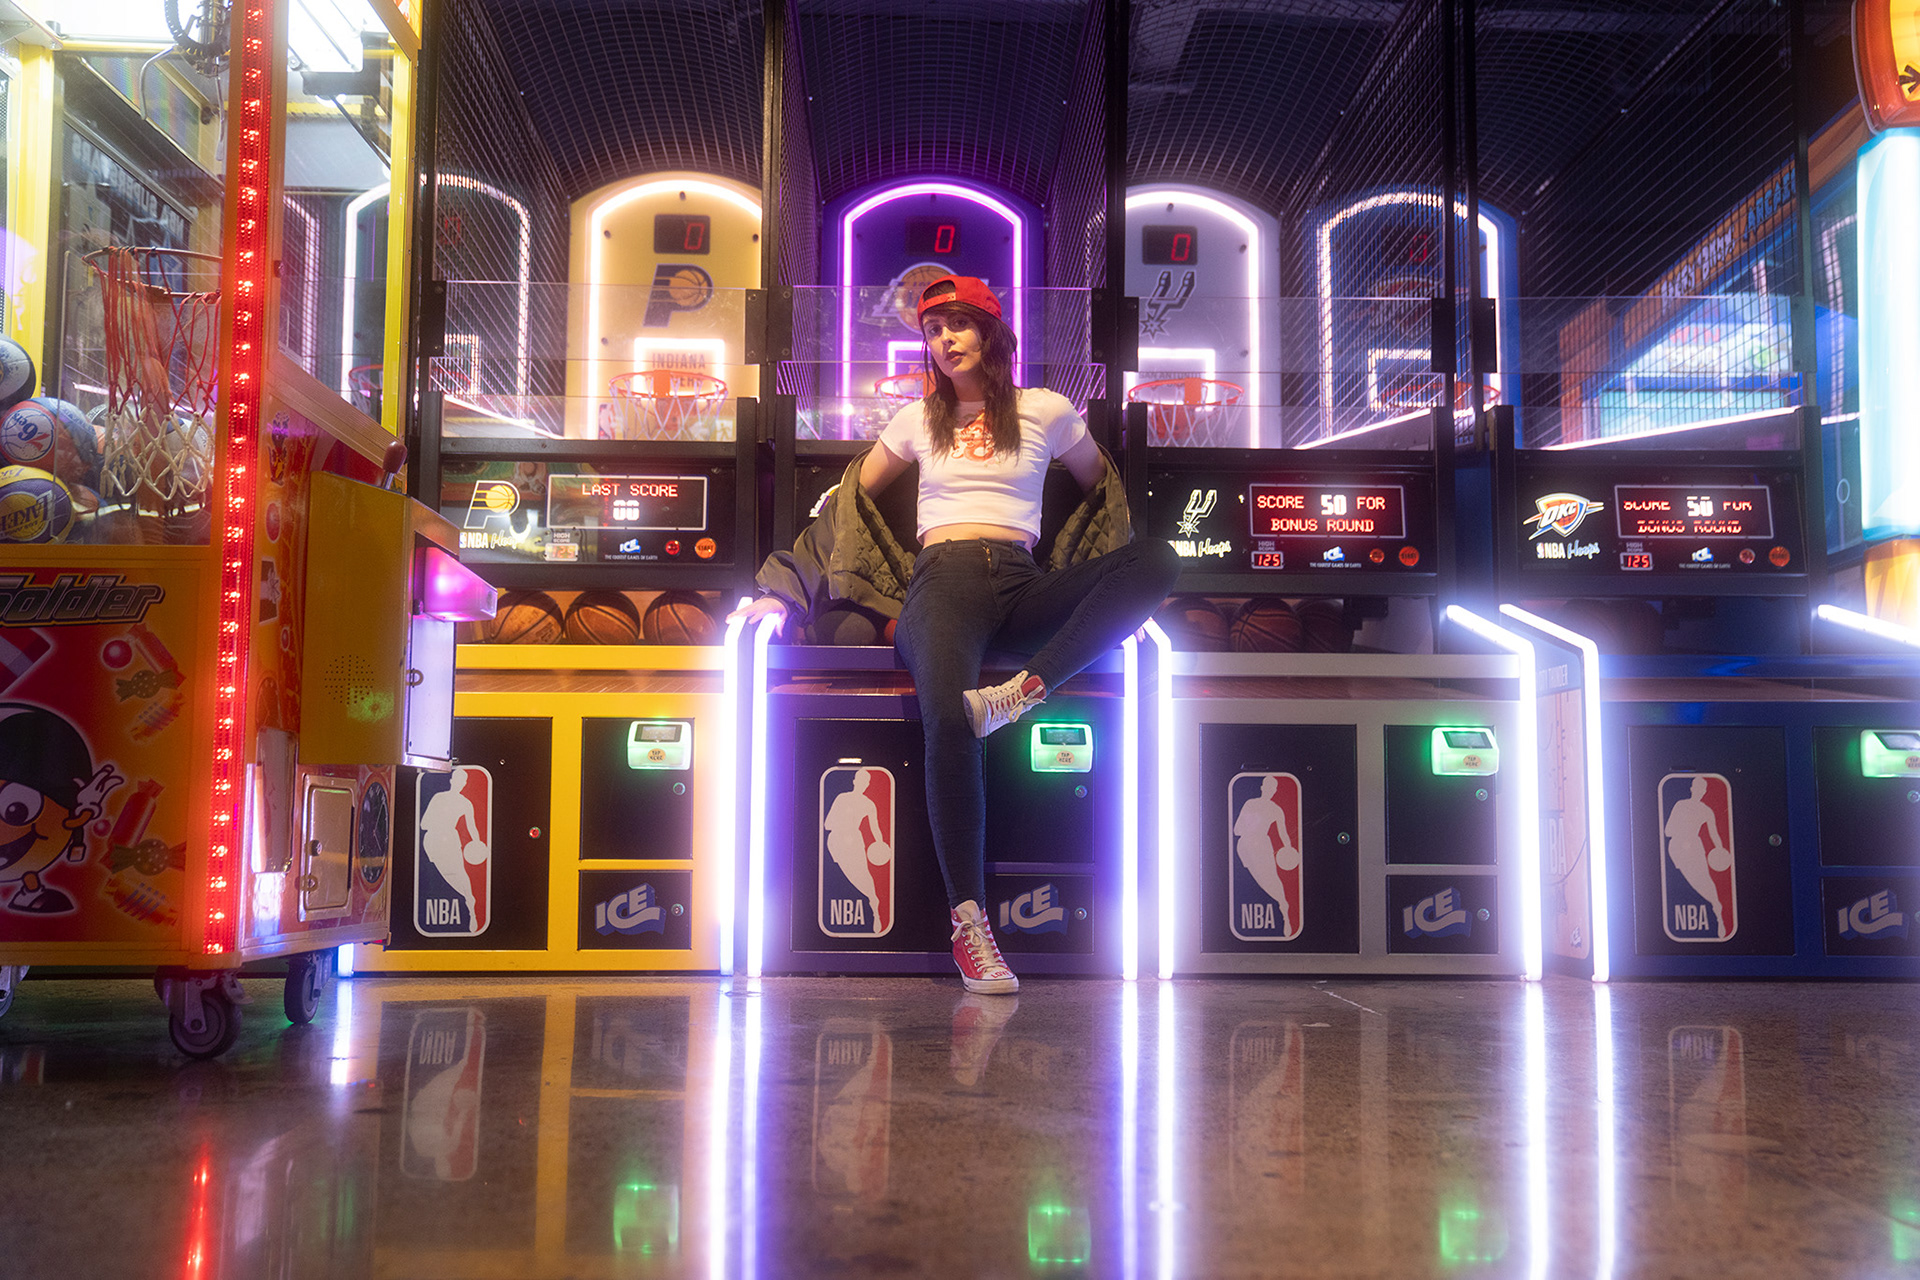
One of the biggest traps about photoshoots like these is thinking that the images you see in the board above are going to come straight out on the back of your camera. They won't. These images are heavily edited, retouched, and colour graded. Below is the cover image, straight out of camera.
You'll also need to really pump up your ISO in most cases, which will lead to a lot of noise. You will loose detail in the shots and they won't be as sharp as you may like. You may need to run your images through denoise and sharpening software before or after editing, depending on your workflow.
Left: before denoise software. Right: after Topaz DeNoise on default low light setting
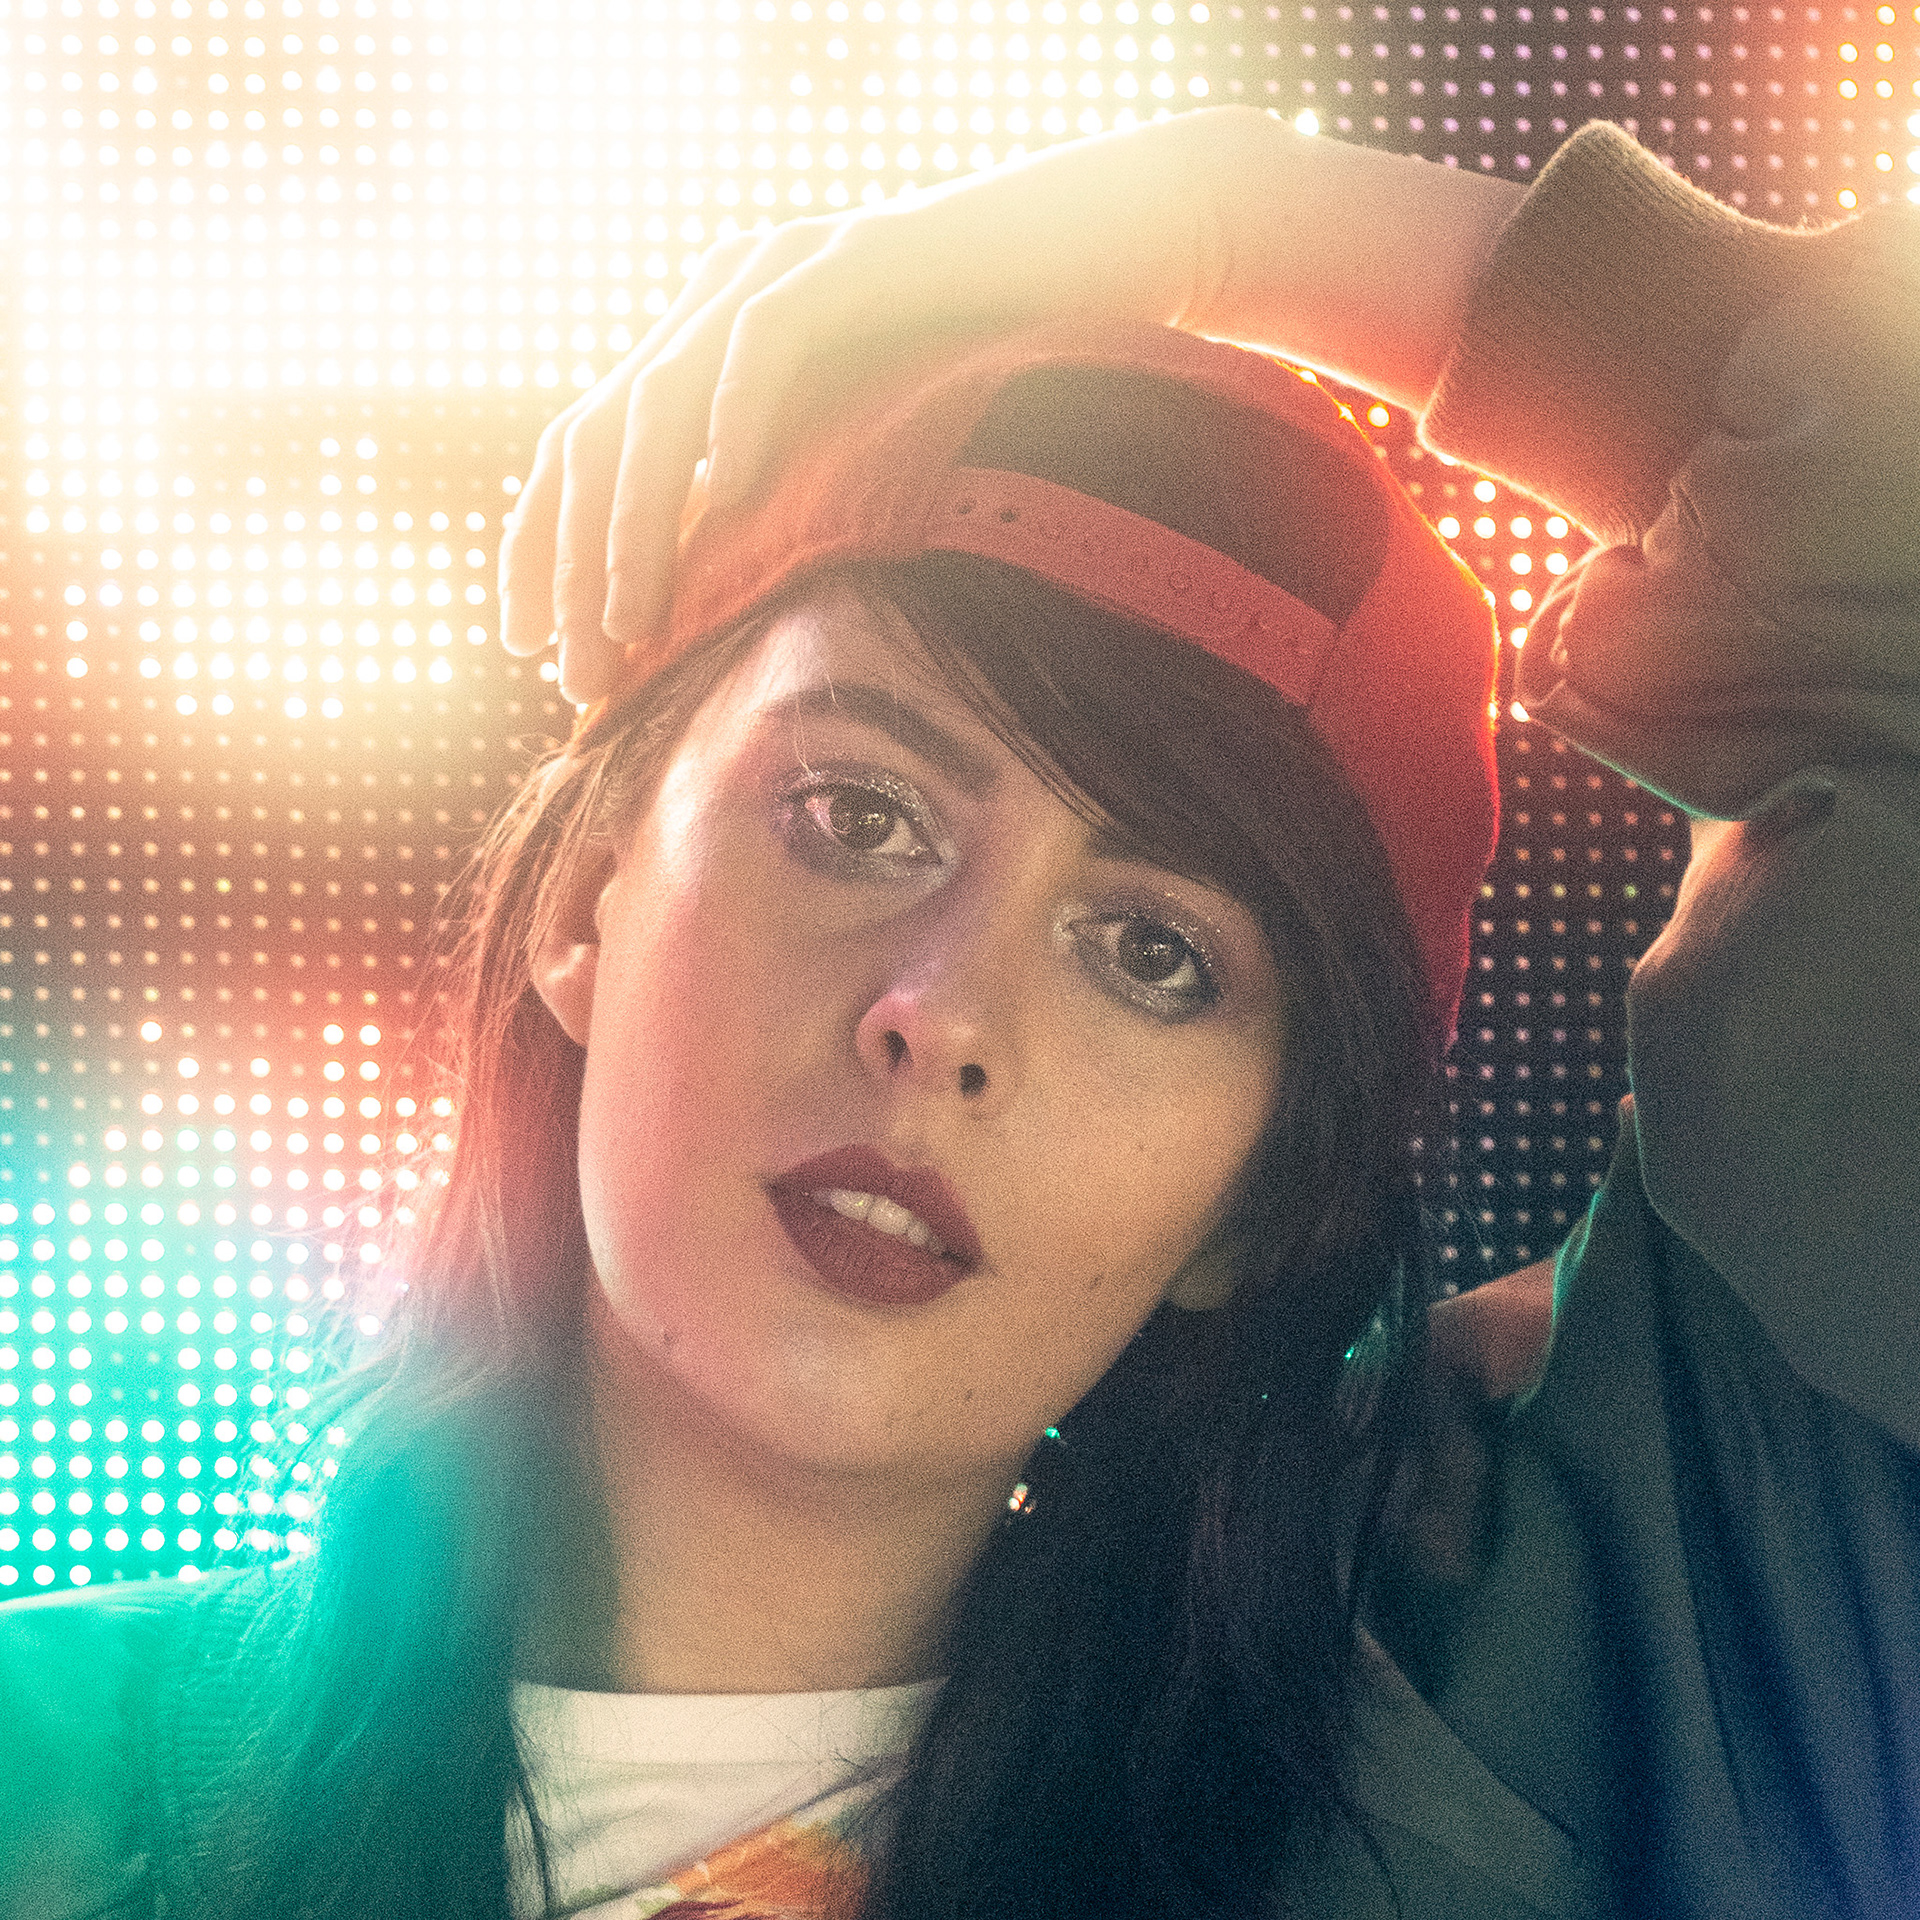

I found the Lume Cube light very useful for this photoshoot, and I used it in most of my shots as a key light on the model's face. I rarely use this light as it is a hard light source and not very flattering. However, in this situation, it matched the quality of the environmental lights well. As it is a small and relatively hard light source, I was able to direct it quite specifically to only light the model. This meant that the coloured lighting from the environment was not drowned out by the lume cube.

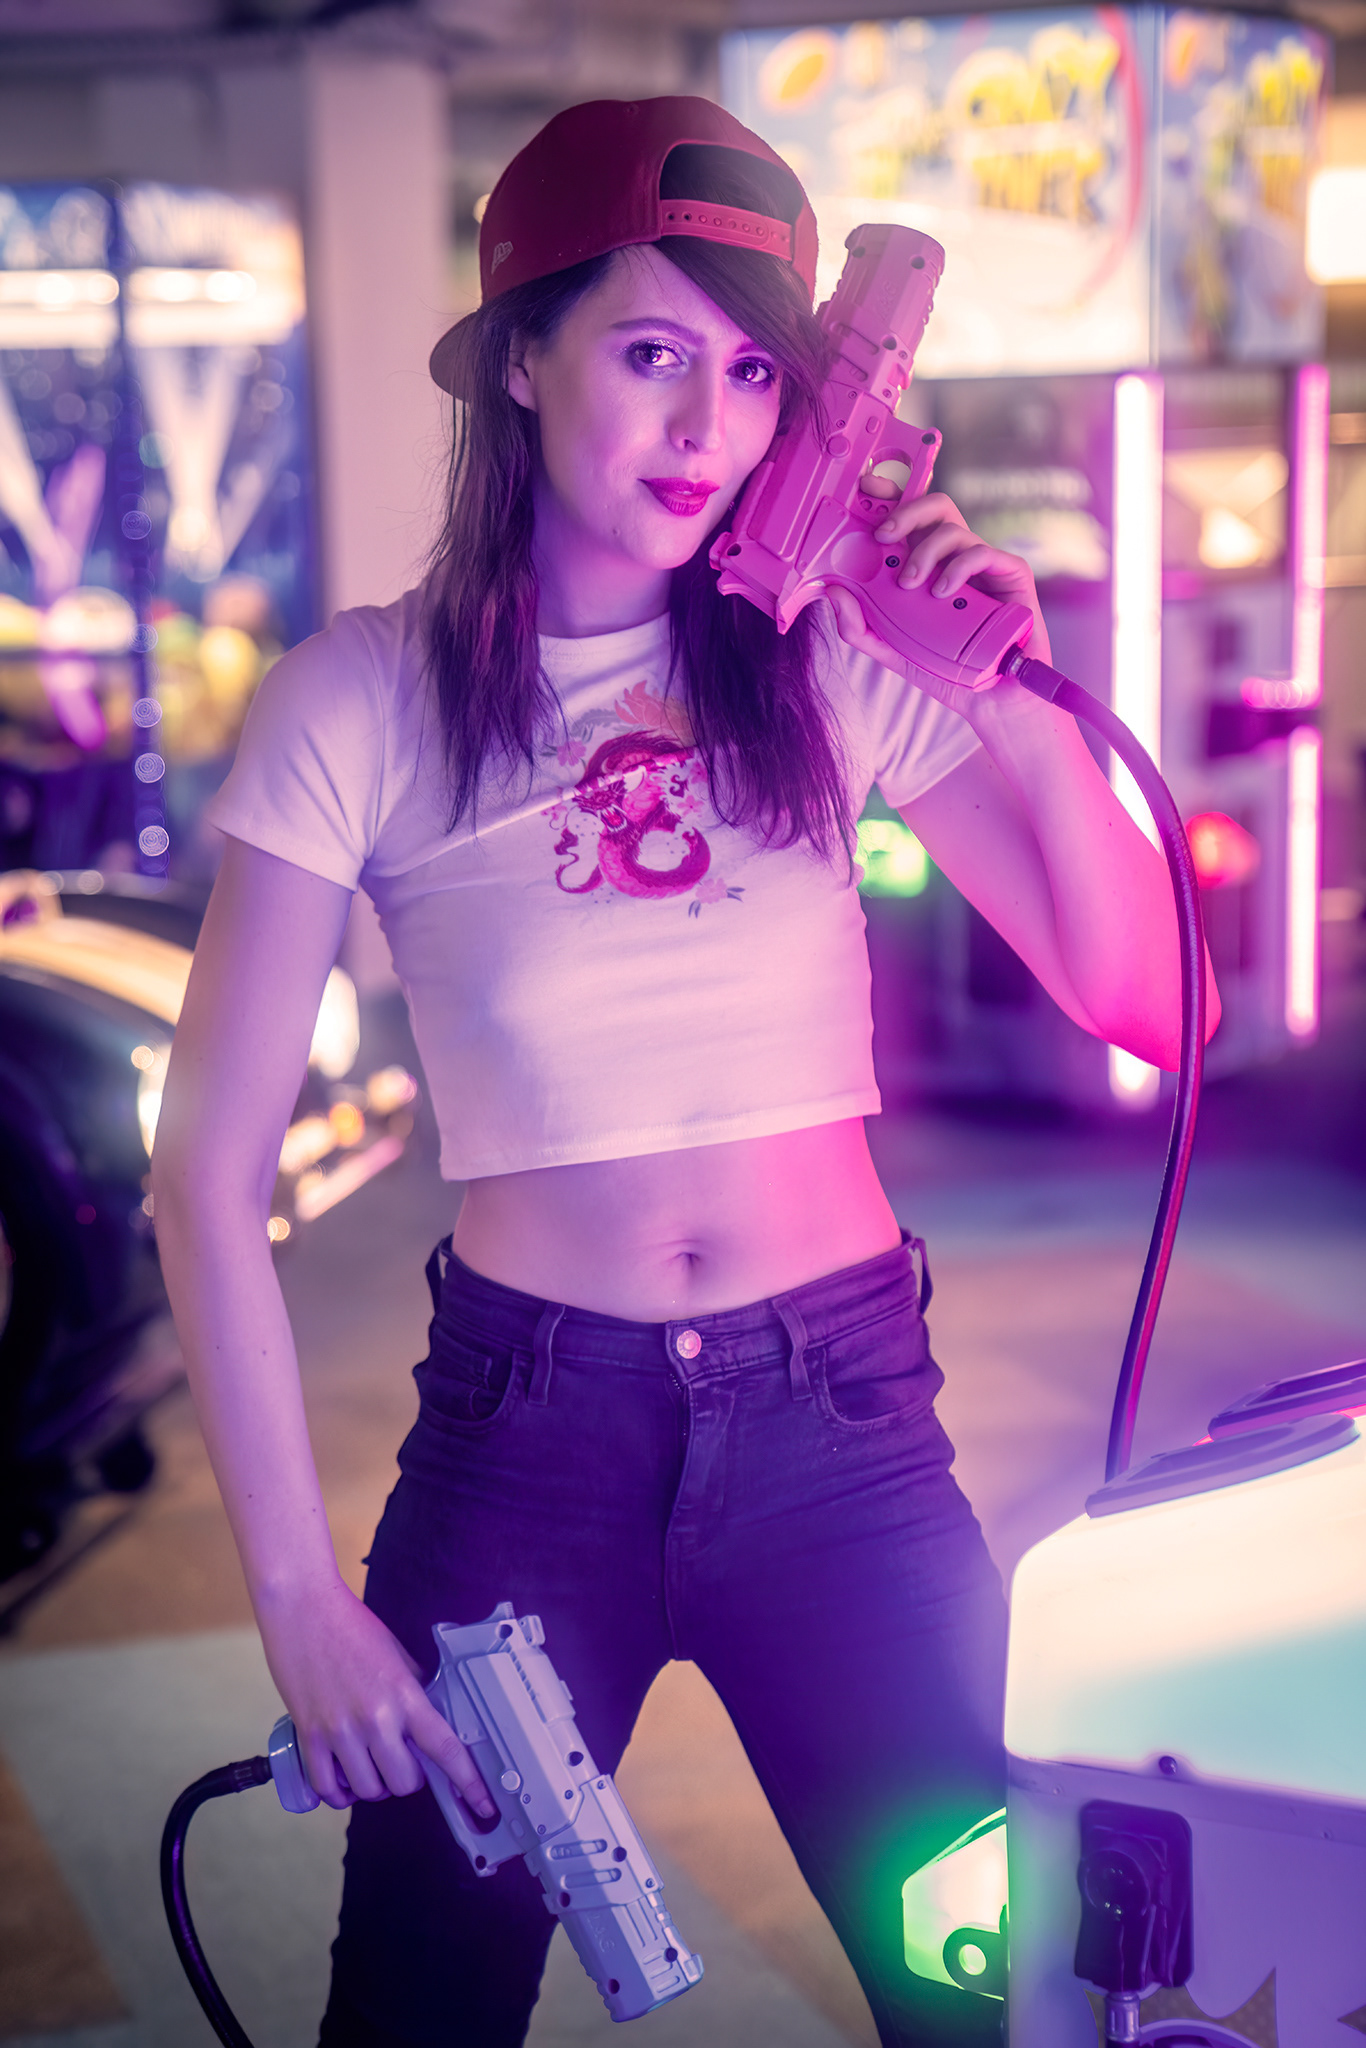
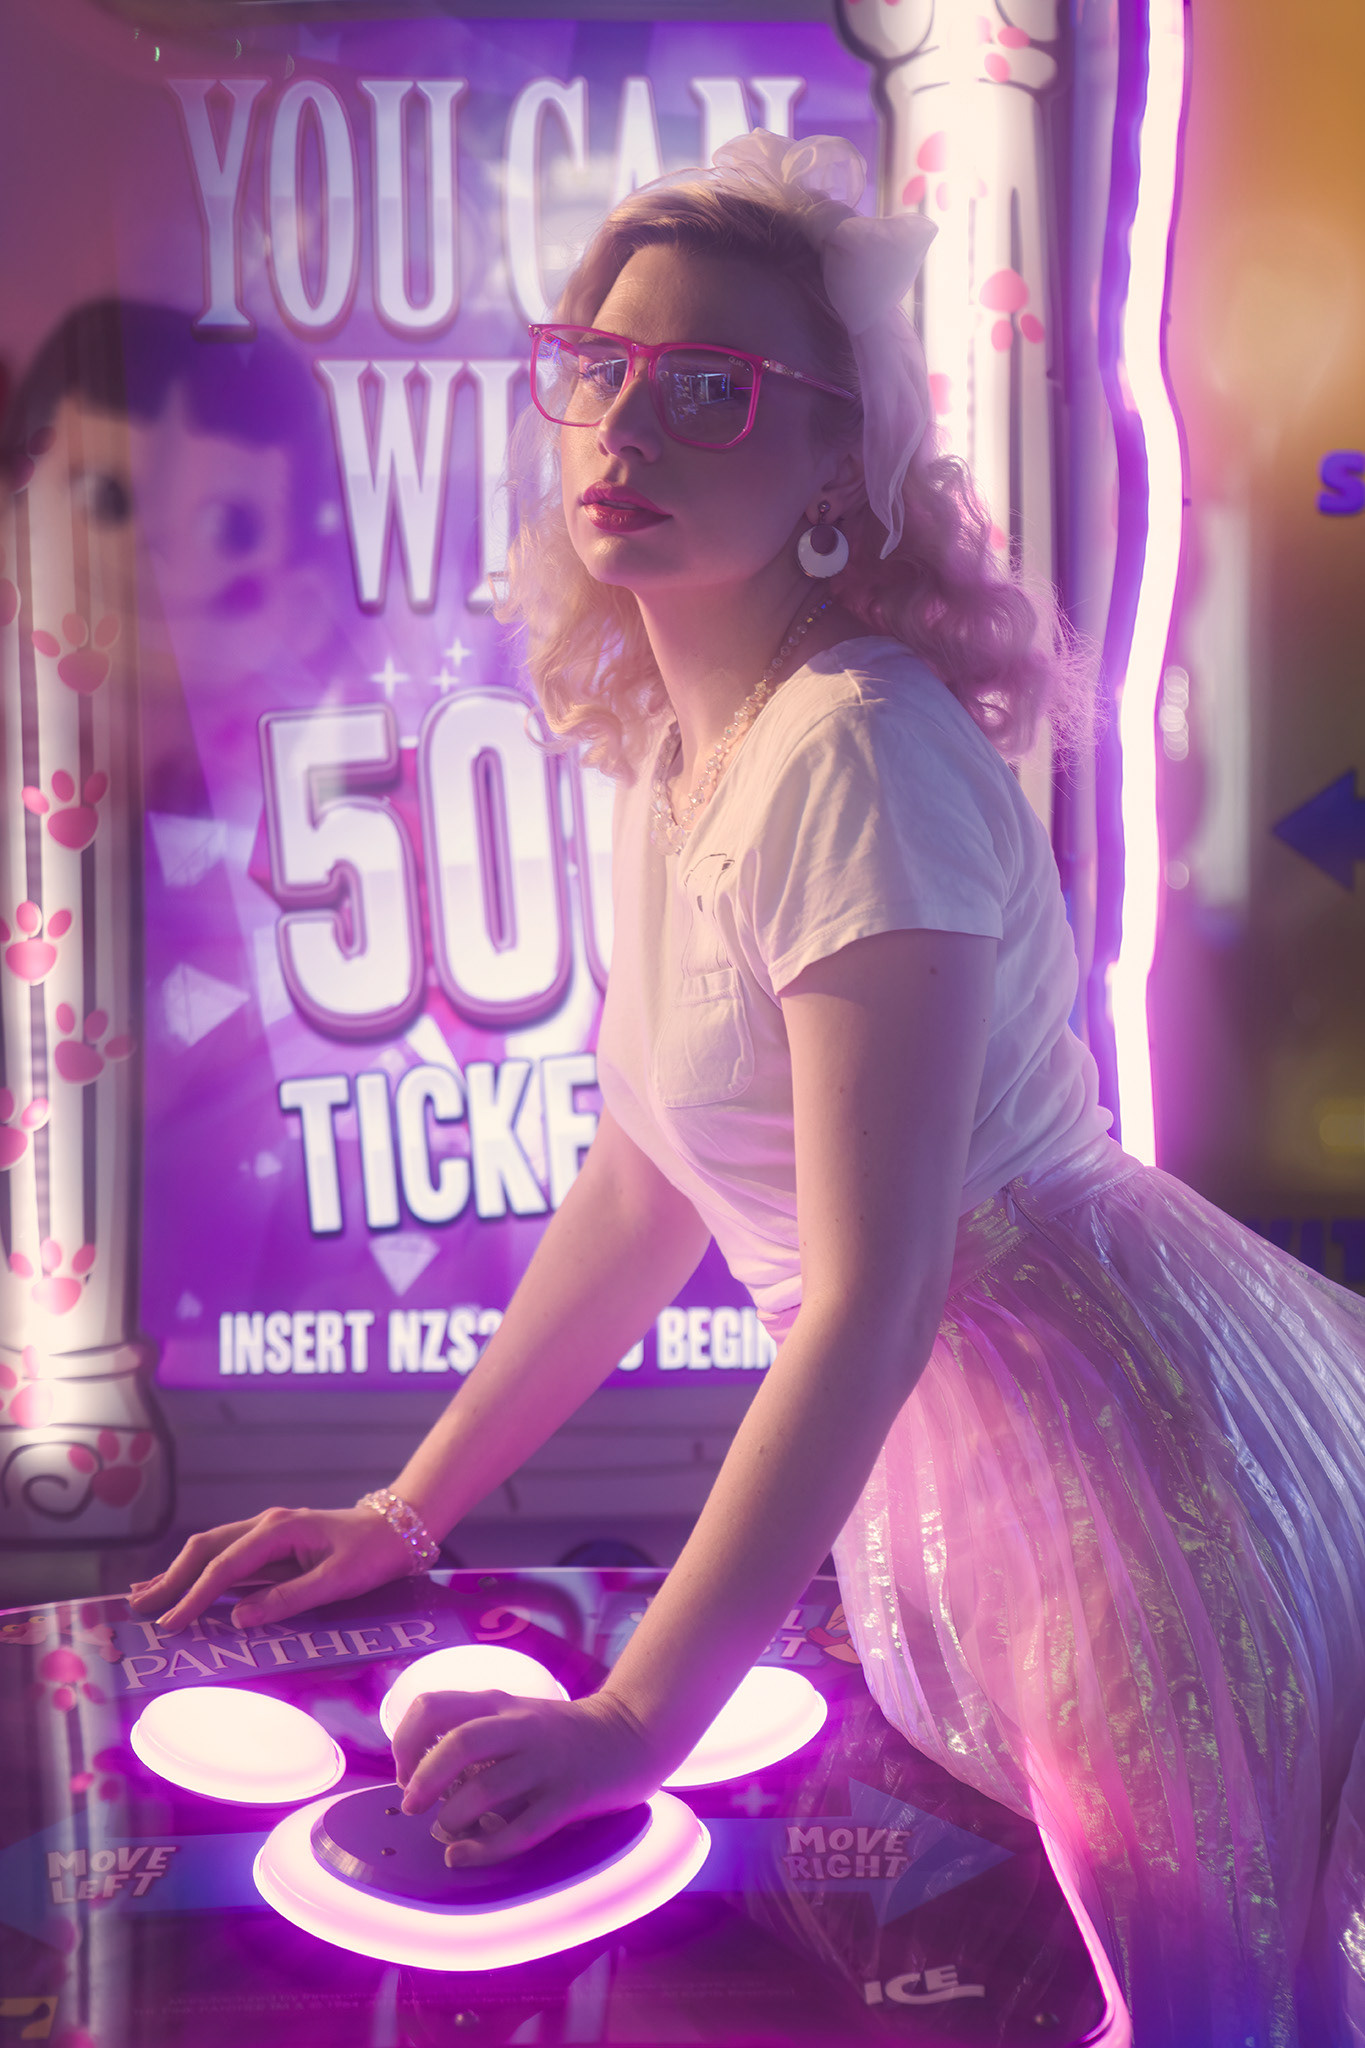
Colour grading is subjective, but try to stick to the rules of the colour wheel. Classic cinematic colours like blue or cyan for shadows and orange or yellow for highlights work well, but you don't have to stick to this palette in a shoot like this.
Left: straight out of camera. Right: after edit
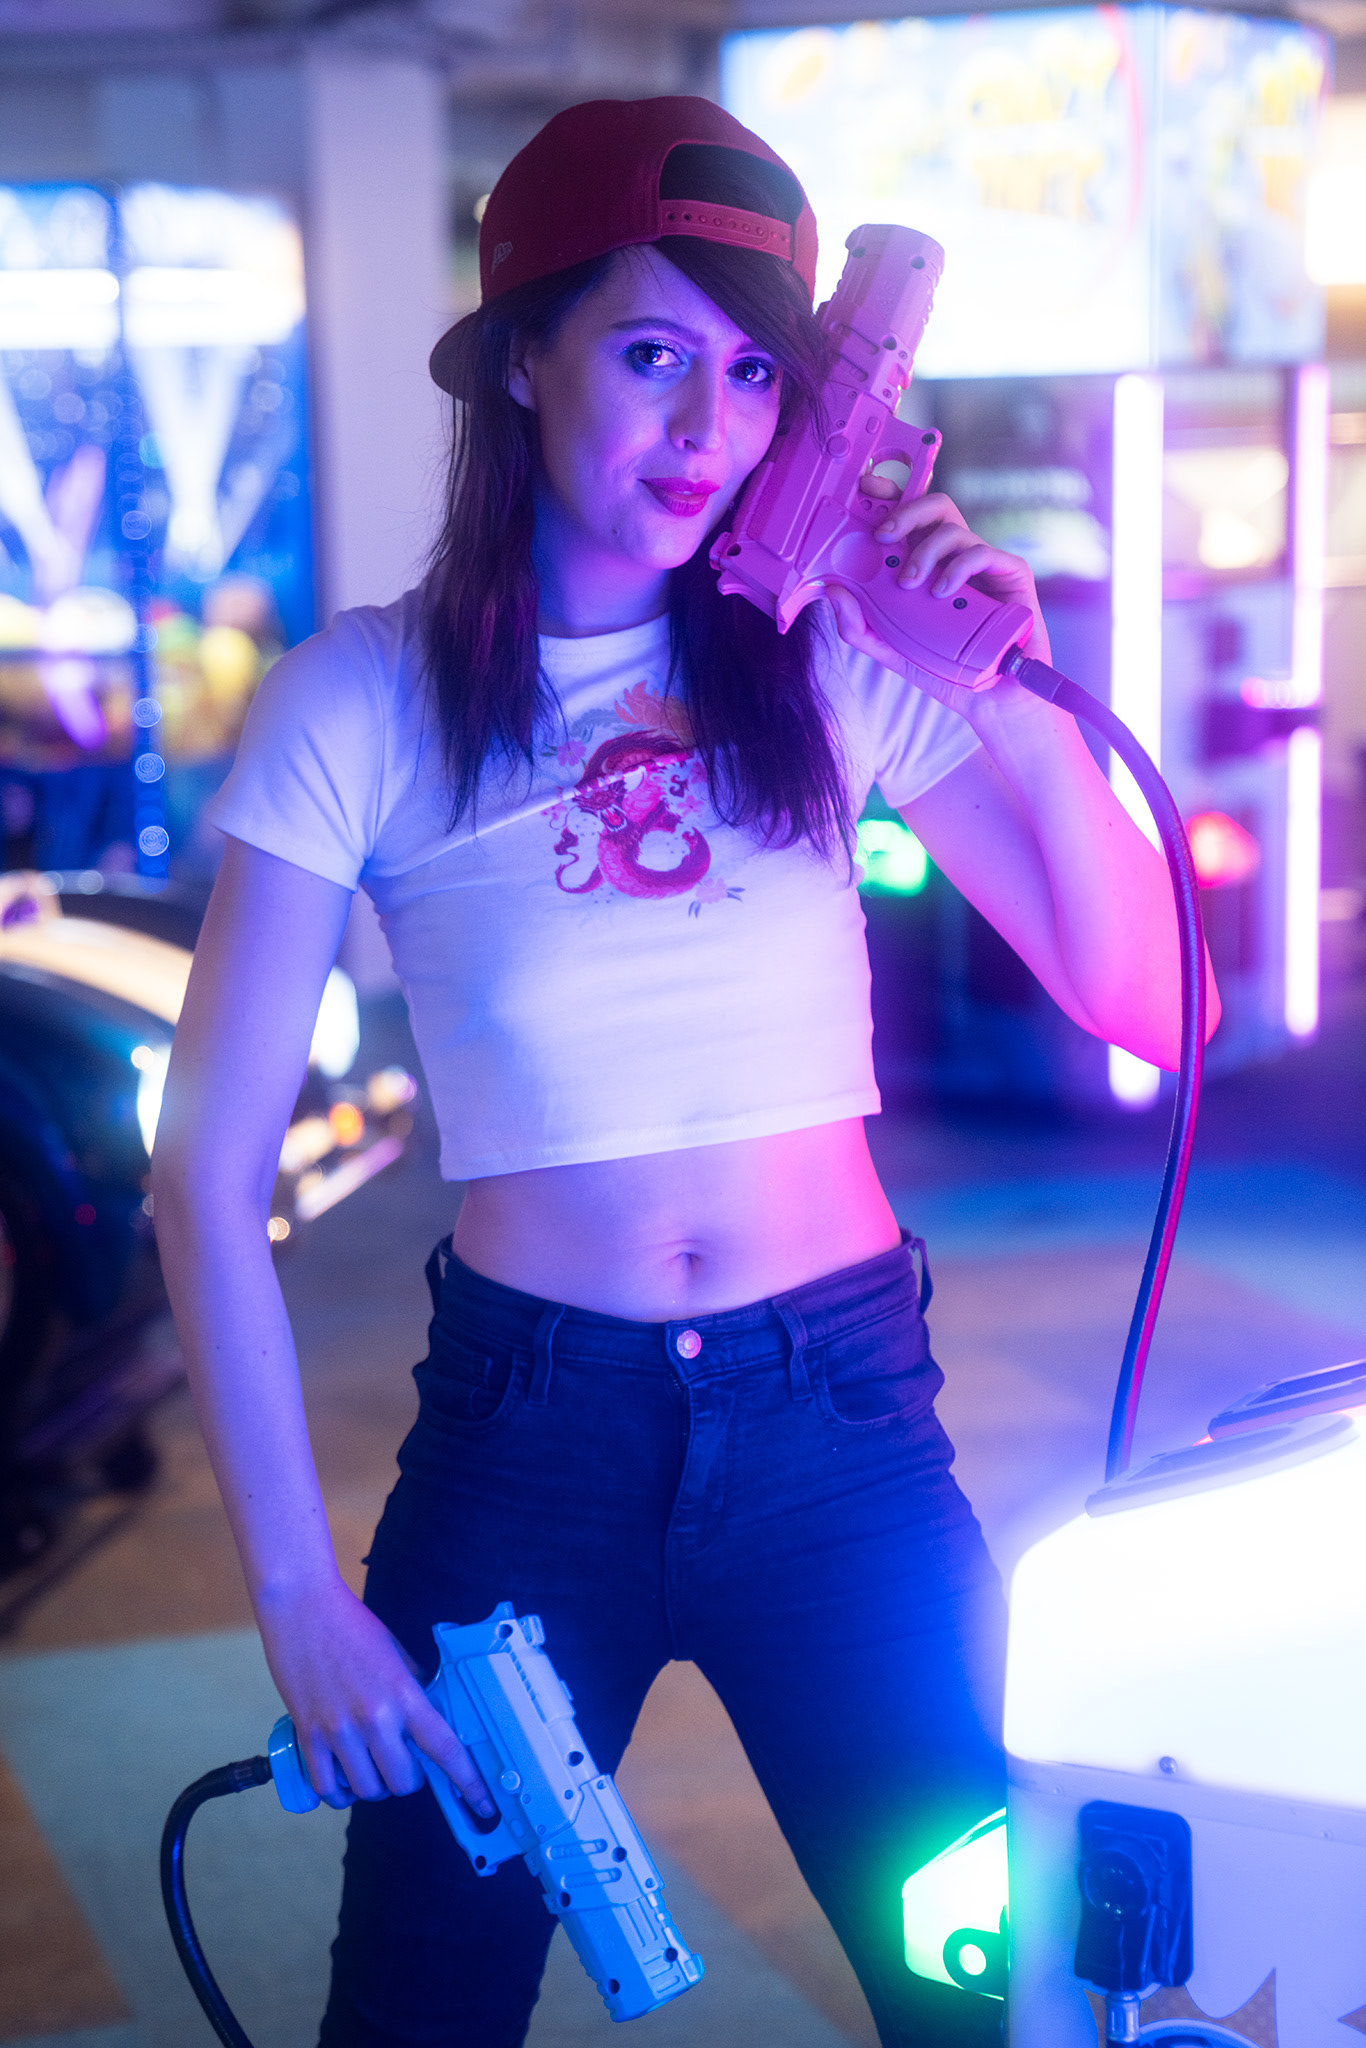
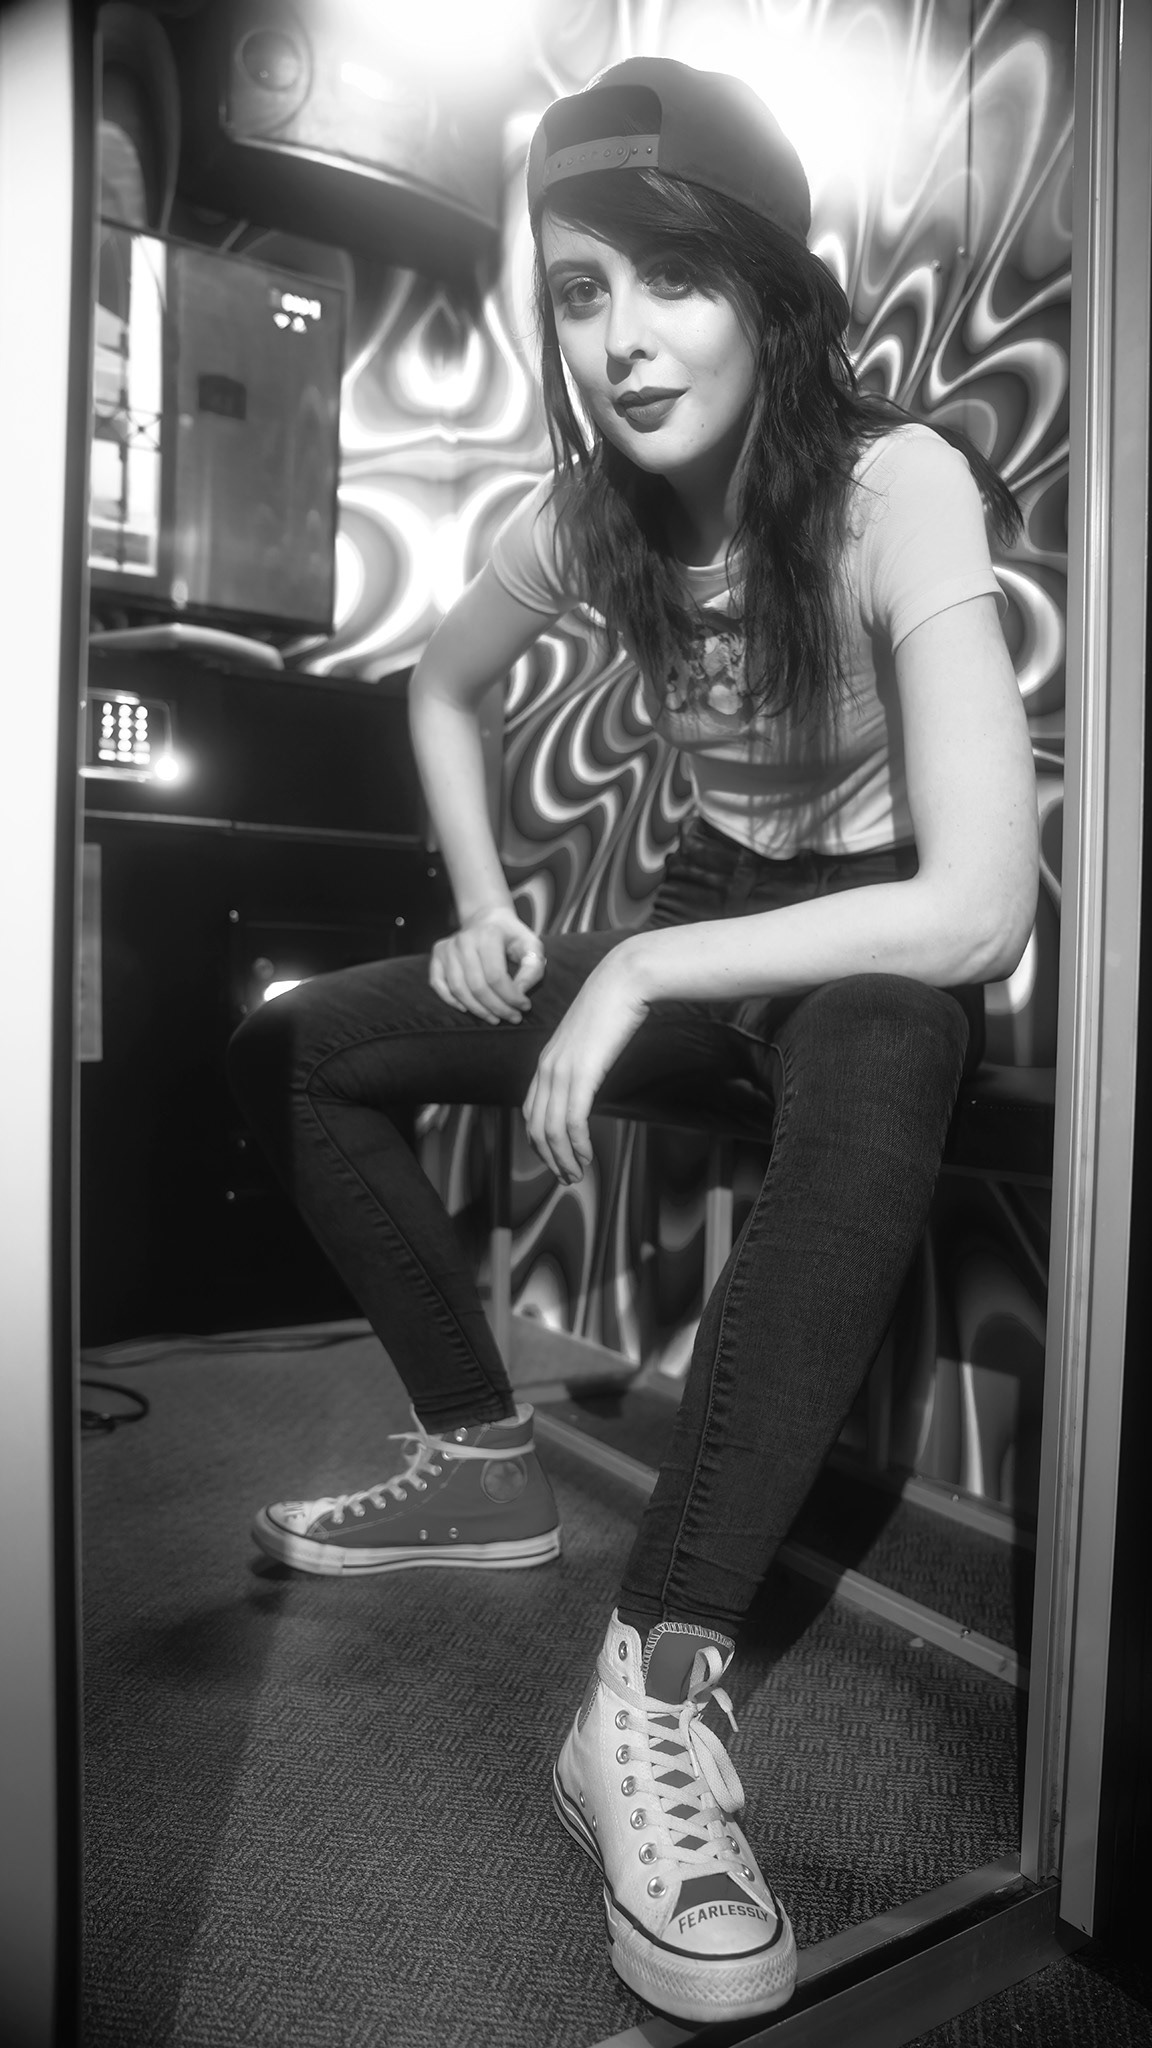
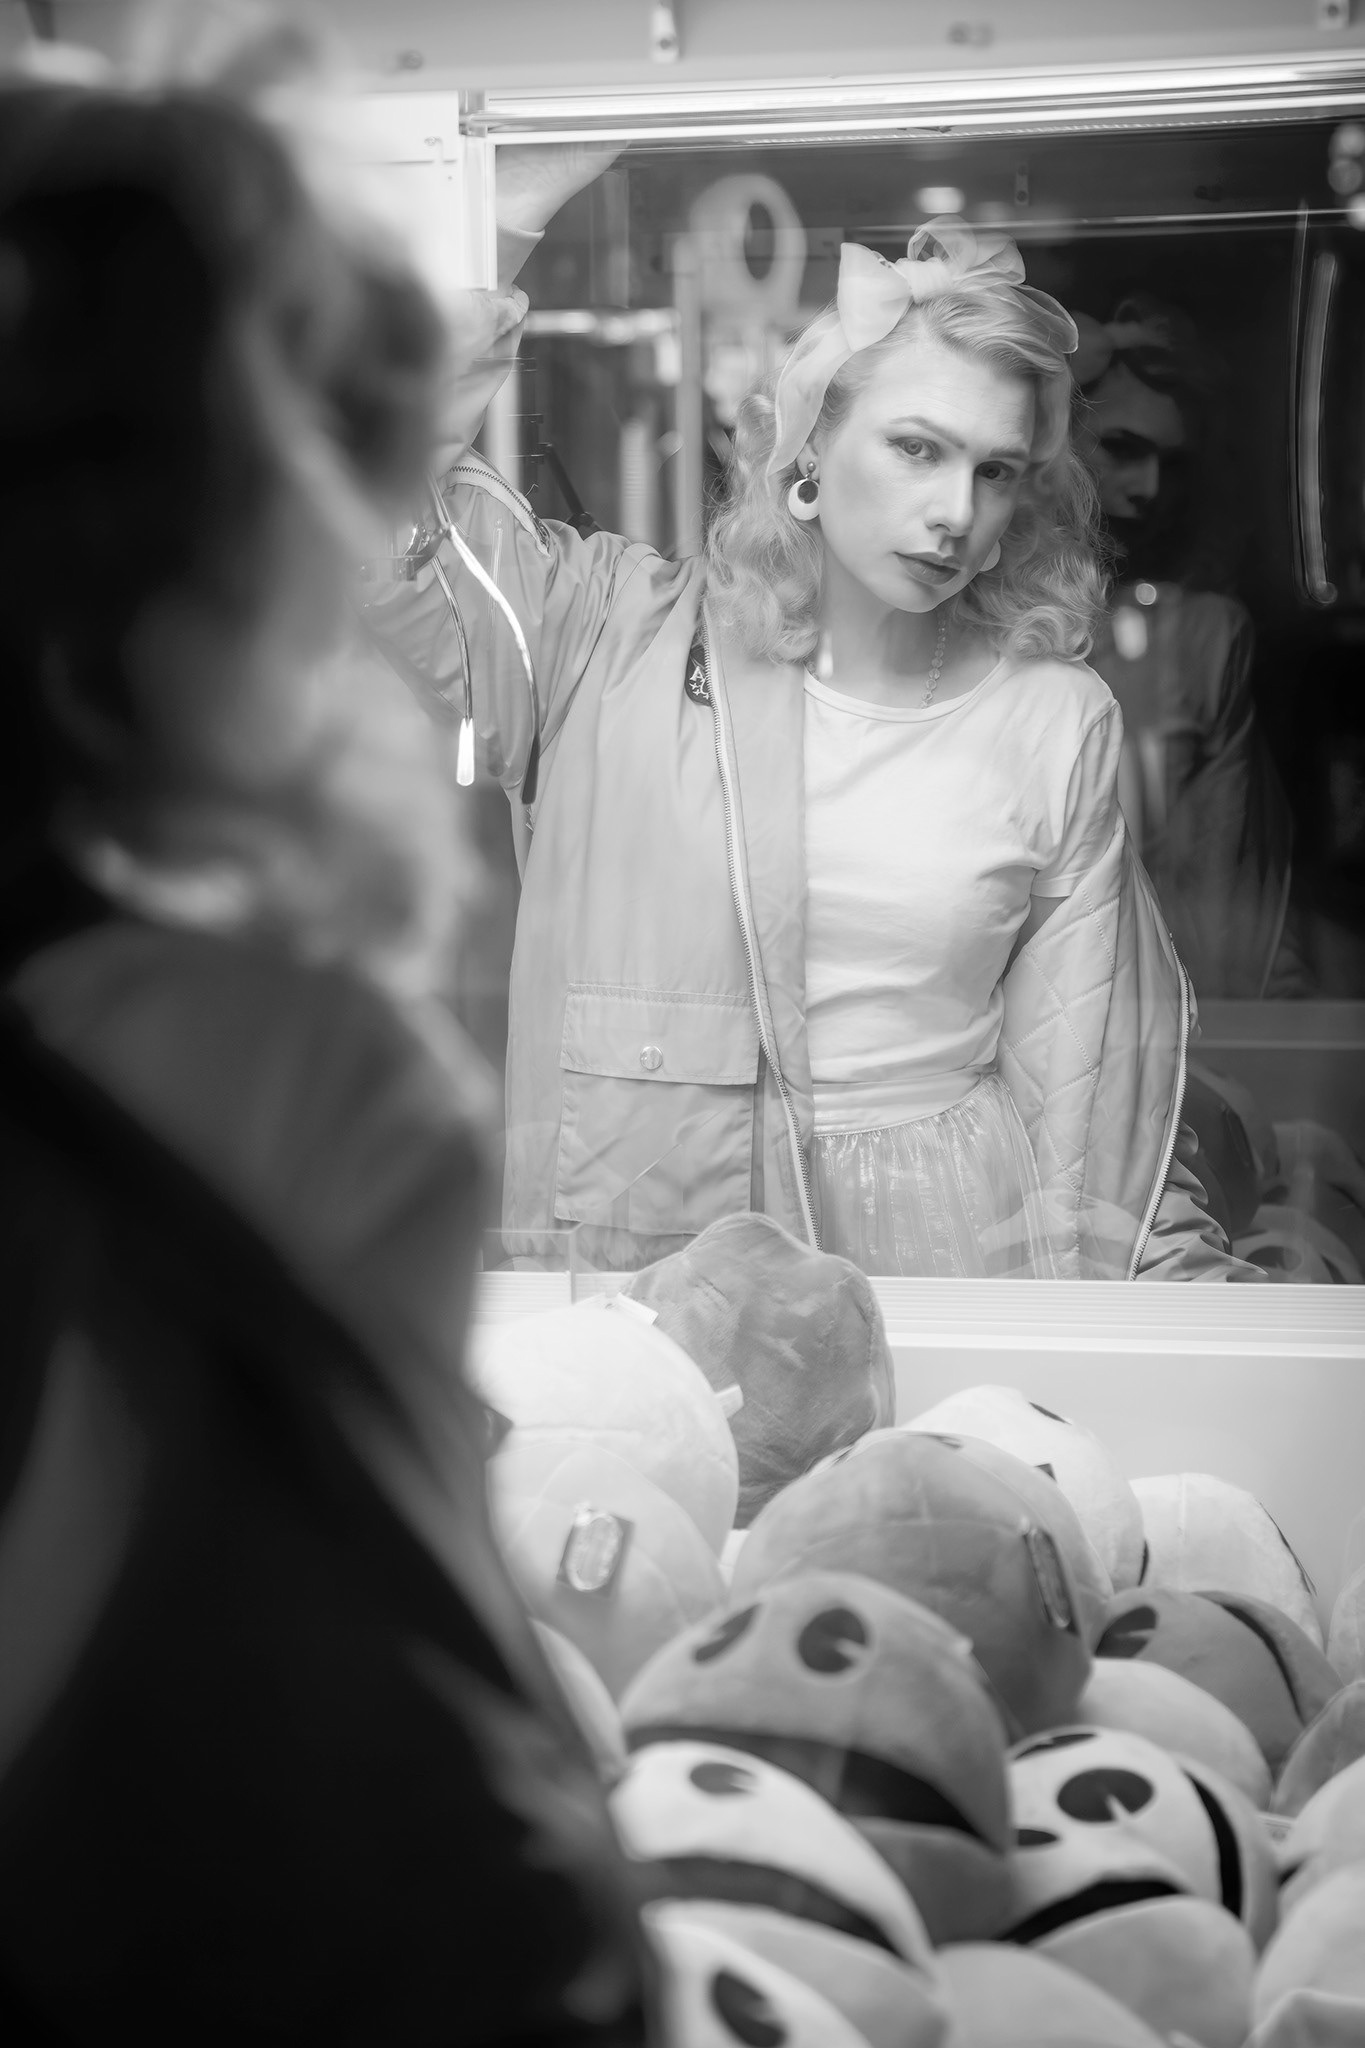
My usual editing style is painterly which means soft focus, soft lighting, and subdued colours. This photoshoot was pretty much the opposite to my usual standard, so my normal editing process did not work well. Whereas I typically set a look, feel, and colour tone for a set of images, with this shoot I ended up treating each image individually. This was necessary because every new background or setup was very different in terms of lighting and ambient colours. The editing process ended up being quite time consuming and frustrating. In some cases, I had to resort to black and white treatment as I could not control the colour in the image.

We had fun and we got some great shots. It was a rush because there were so many backgrounds to play with and techniques to try. The last time we came to an arcade, we had the model wear mirrored glasses for reflection and we used a prism in front of the lens to refract parts of the image back into the sensor.
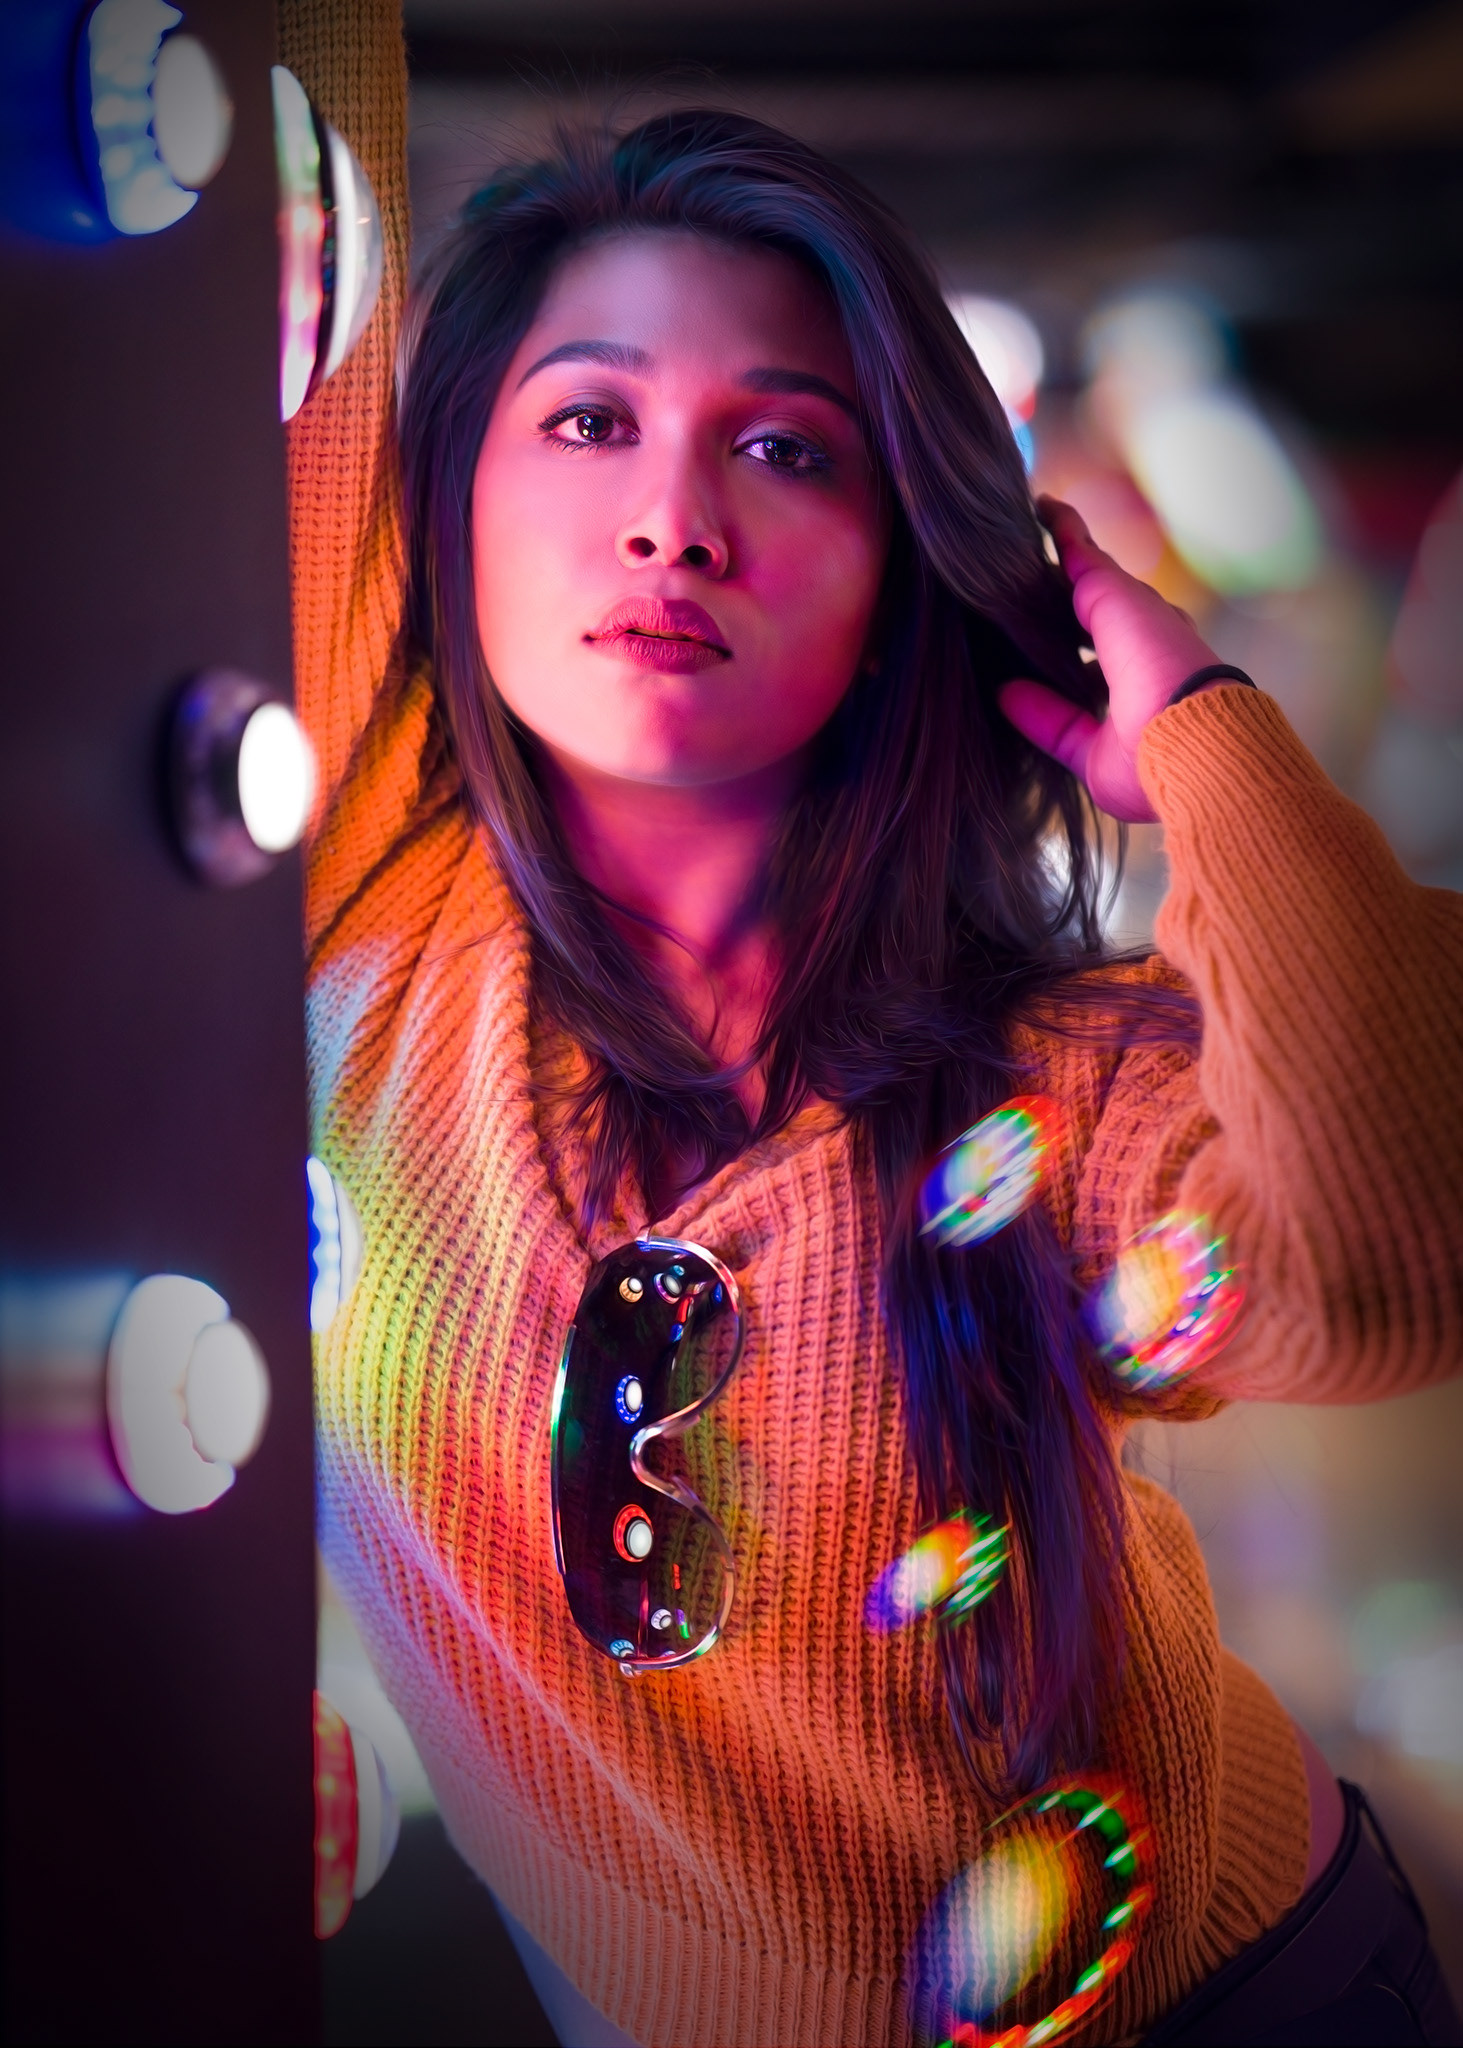
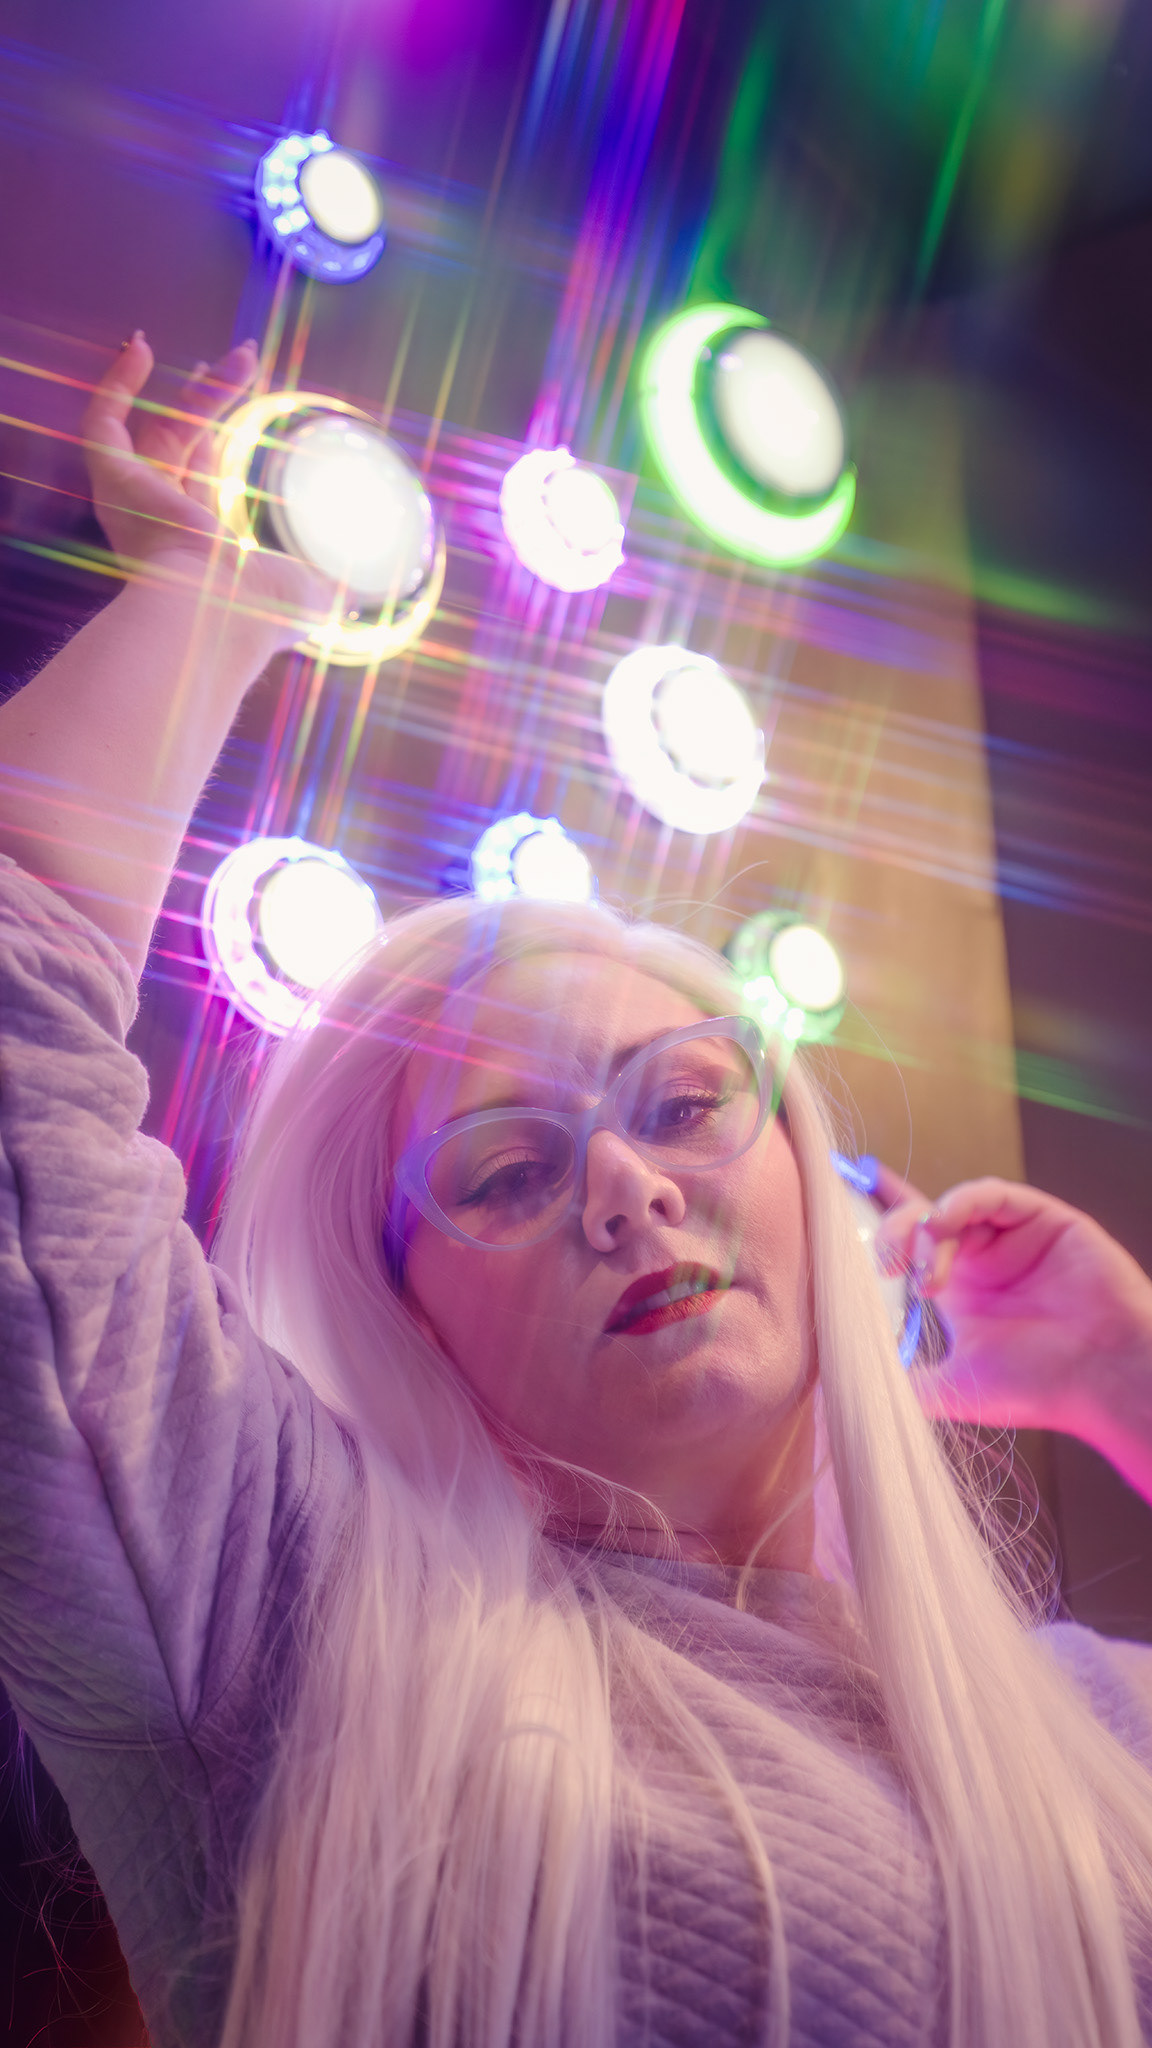
This time, I used a Lensbaby gold/silver reflector piece from the OMNI kit to do something similar, but I only liked the effect in one shot. The cartoon face refracted on the left is from the dress of another model who was standing near me as I took the photos. As a general rule, it's a bad idea to include two faces in a shot with one model as our eyes are drawn to both. In this case, I think it's soft enough to be ok.
To sum up: do your research beforehand. Practice if you plan to use a tool to refract or reflect in your shots. Be prepared to have to heavily process your shots. A smaller camera sensor will struggle more with noise than a larger, more modern one. Discuss looks, outfits, and accessories with the model(s). Figure out if there's a specific look or theme you're going for. Ask prior permission from the venue - you'll be surprised at how often people are happy as long as you tag or credit them. They can assist you schedule a time that is less busy. Do a recon trip to the venue and plan out some shots. Don't turn up with tripods, light stands, or anything else that could get in the way of other customers or the venue will not be happy with you. Refer to your pinterest board during the shoot if you start to get off track or loose focus.
Above all, have fun!